A CRUD With MongoDB and Java in One Line of Code
In this quick tutorial, I'll show you how to implement a web CRUD (Create, Read, Update, and Delete) using MongoDB, Spring Boot (version 2.3.4), and Vaadin (version 14.3.7). I assume you have MongoDB, the JDK version 8 or later, Maven, and a Java IDE installed on your computer.
Here's a video version of this tutorial if you prefer:
Step 1: Create a New Spring Boot Project
Go to start.spring.io and create a new project with the following dependencies:
- Vaadin - Java framework for building web apps on Web Components
- Spring Data Mongo DB - Store data in JSON-like documents
- Lombok (optional) - Java annotation library to reduce boilerplate code
Download and extract the ZIP file. The extracted content is a Maven project that you can import into your favorite IDE.
Add the following repository and dependency to your pom.xml file:
x
<repository>
<id>vaadin-addons</id>
<url>https://maven.vaadin.com/vaadin-addons</url>
</repository>
<dependency>
<groupId>org.vaadin.crudui</groupId>
<artifactId>crudui</artifactId>
<version>4.3.1</version>
</dependency>
Step 2: Create a Domain Class
Create a new Student class as follows:
xxxxxxxxxx
import lombok.*;
import org.springframework.data.annotation.Id;
(onlyExplicitlyIncluded = true)
public class Student {
private Integer regNumber;
private String firstName;
private String lastName;
}
Step 3: Create a Repository Interface
Create a new StudentRepository interface as follows:
xxxxxxxxxx
import org.springframework.data.mongodb.repository.MongoRepository;
public interface StudentRepository extends MongoRepository<Student, Integer> {
}
Step 4: Create a Service Class
Create a new StudentService class as follows:
xxxxxxxxxx
import org.springframework.stereotype.Repository;
import org.vaadin.crudui.crud.CrudListener;
import java.util.Collection;
public class StudentService implements CrudListener<Student> {
private final StudentRepository repository;
public StudentService(StudentRepository repository) {
this.repository = repository;
}
public Collection<Student> findAll() {
return repository.findAll();
}
public Student add(Student student) {
return repository.insert(student);
}
public Student update(Student student) {
return repository.save(student);
}
public void delete(Student student) {
repository.delete(student);
}
}
Step 5: Implement a View Class
Create a new class as follows:
xxxxxxxxxx
import com.vaadin.flow.component.orderedlayout.VerticalLayout;
import com.vaadin.flow.router.Route;
import org.vaadin.crudui.crud.impl.GridCrud;
("")
public class StudentsView extends VerticalLayout {
public StudentsView(StudentService service) {
GridCrud<Student> crud = new GridCrud<>(Student.class, service);
add(crud);
setSizeFull();
}
}
See line 9. With this one line, you are creating the actual CRUD web UI component.
Step 6: Run the Application
Make sure MongoDB is running and start the application as follows:
xxxxxxxxxx
mvn spring-boot:run
Note: The first time you run the application will take more time than subsequent runs.
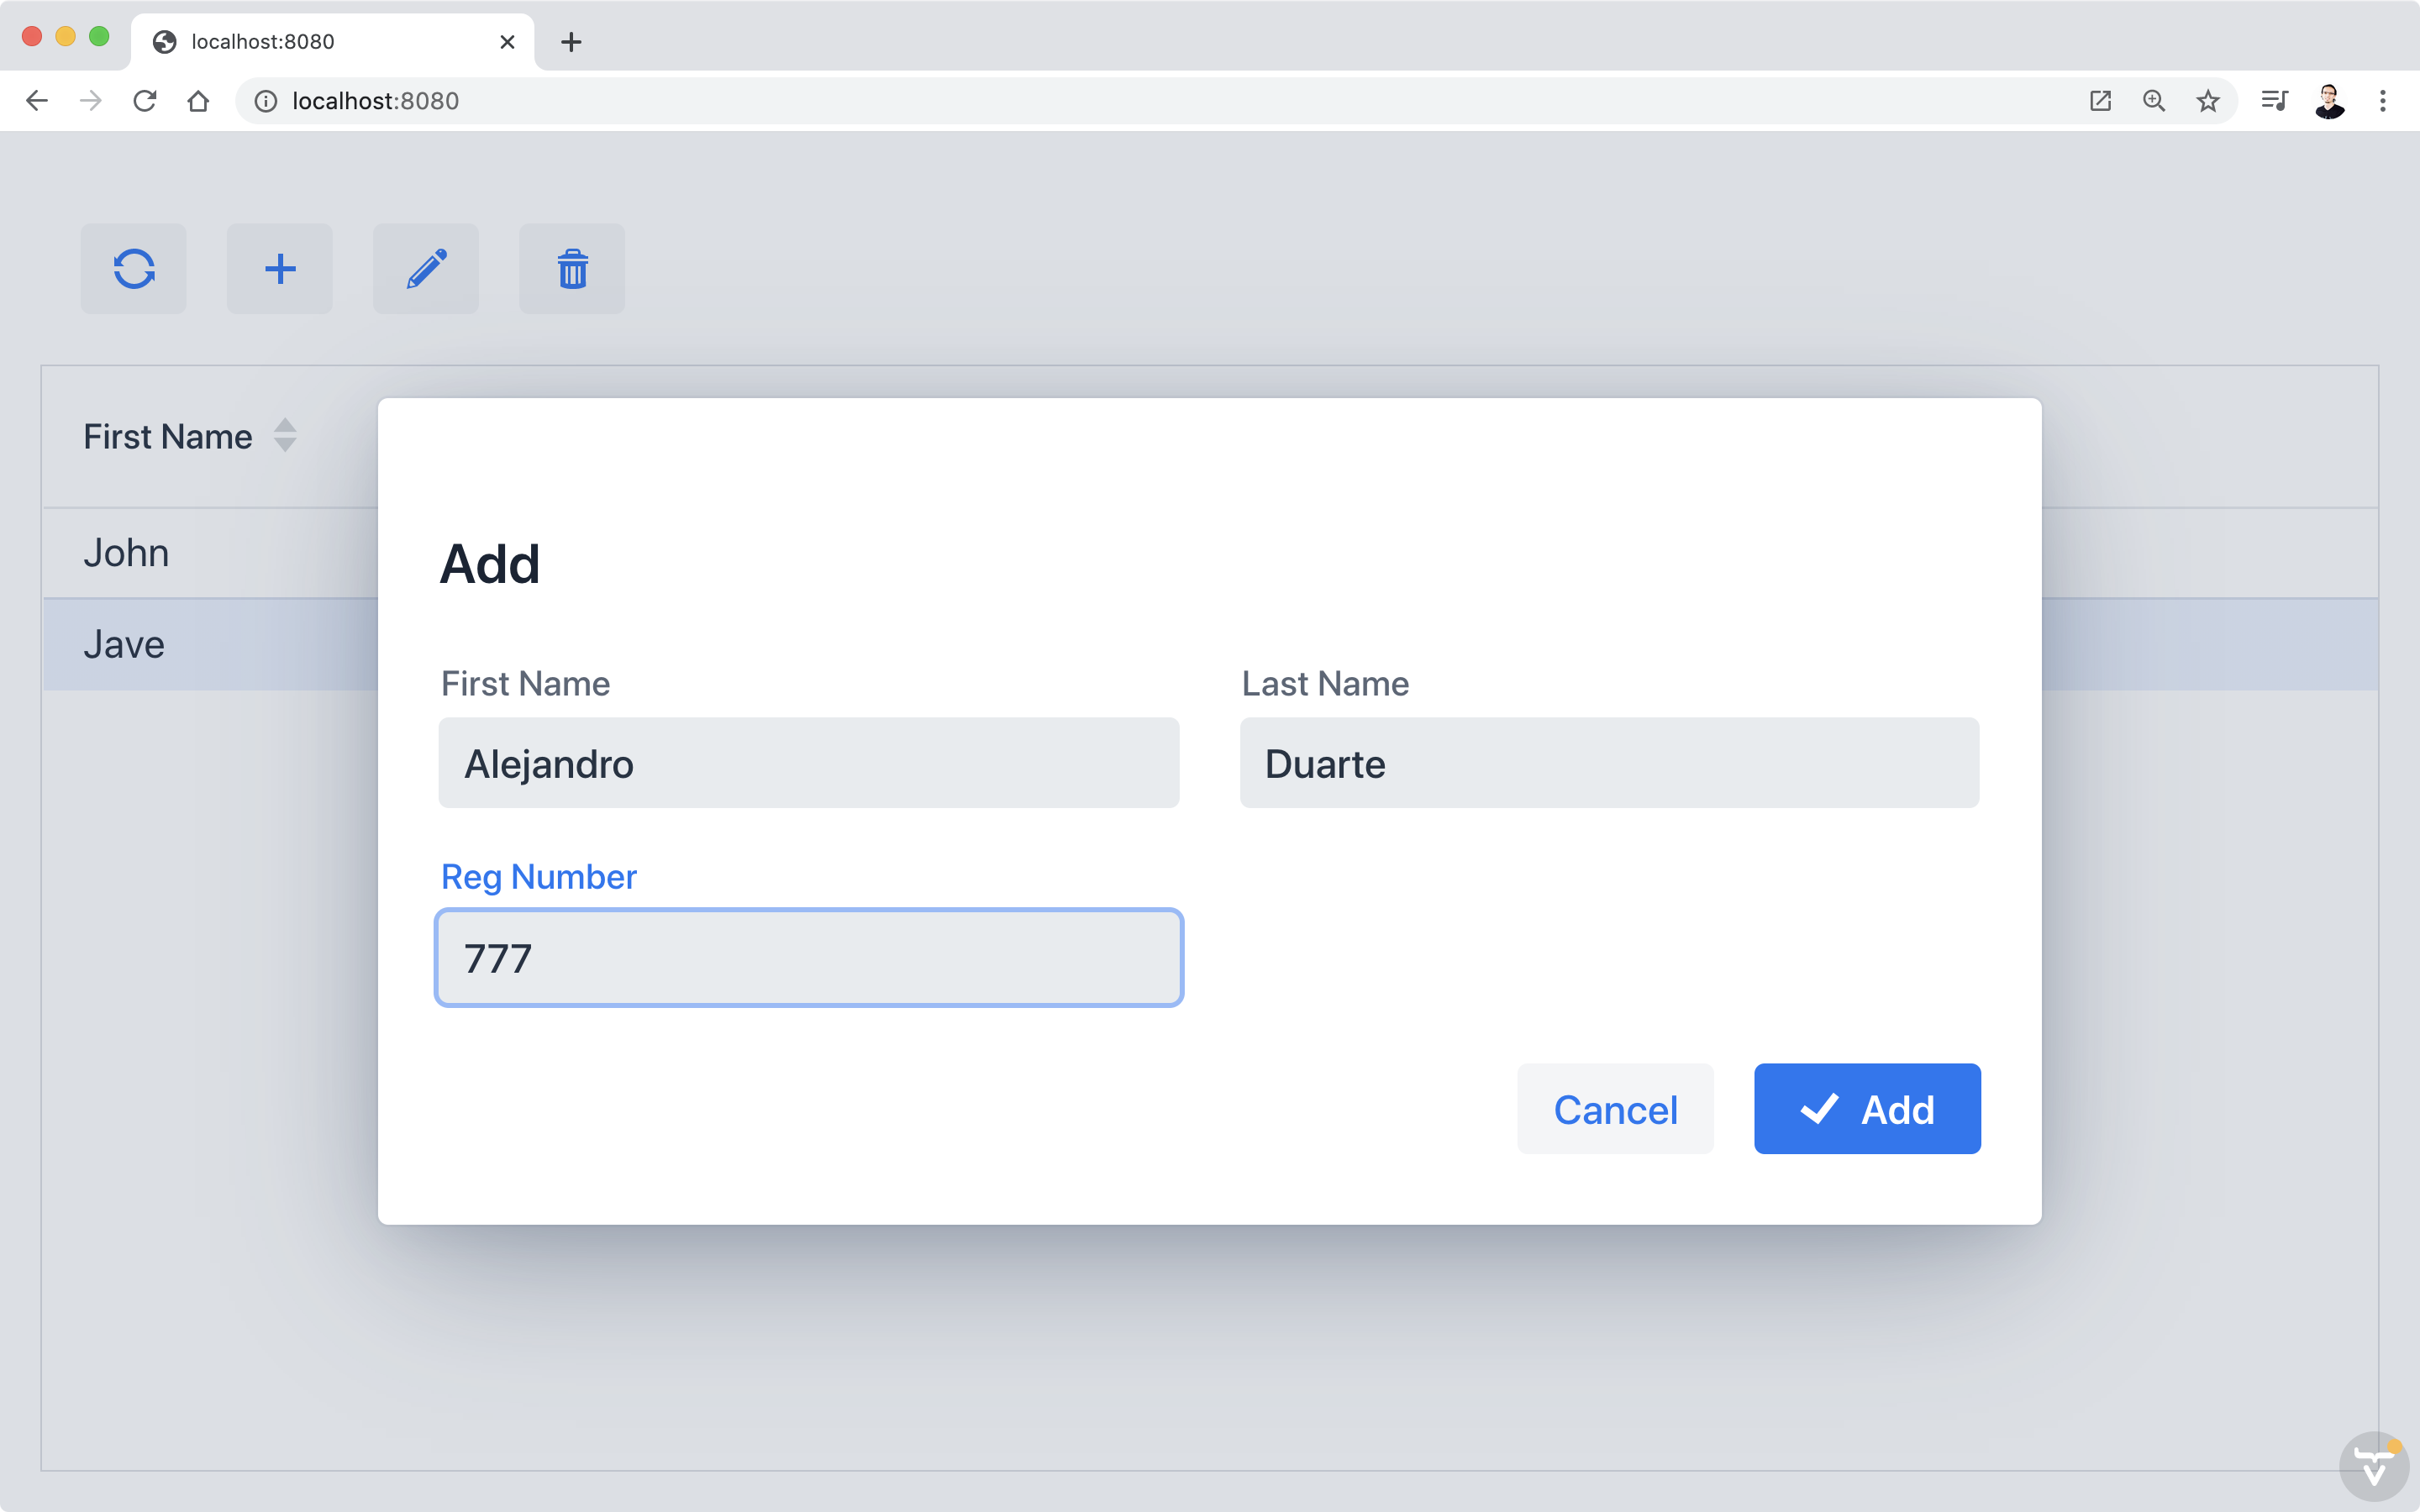
Go to http://localhost:8080 and try the application:

Next Steps
You can configure the MongoDB connection string in the application.properties file. For example:
xxxxxxxxxx
spring.data.mongodb.uri=mongodb://localhost/test
spring.data.mongodb.username=user
spring.data.mongodb.password=password
You can customize the CRUD component. For example:
xxxxxxxxxx
crud.getCrudFormFactory().setVisibleProperties("firstName", "lastName");
crud.getGrid().setColumns("firstName", "lastName");
There are many more customization options. See the examples at https://vaadin.com/directory/component/crud-ui-add-on.

