Converting an Image to Negative using SDL2
in “converting an image to grayscale using sdl2,” we manipulated the pixels of an existing image in order to convert it to grayscale. it is now very easy to add all sorts of effects by changing pixel values in different ways.
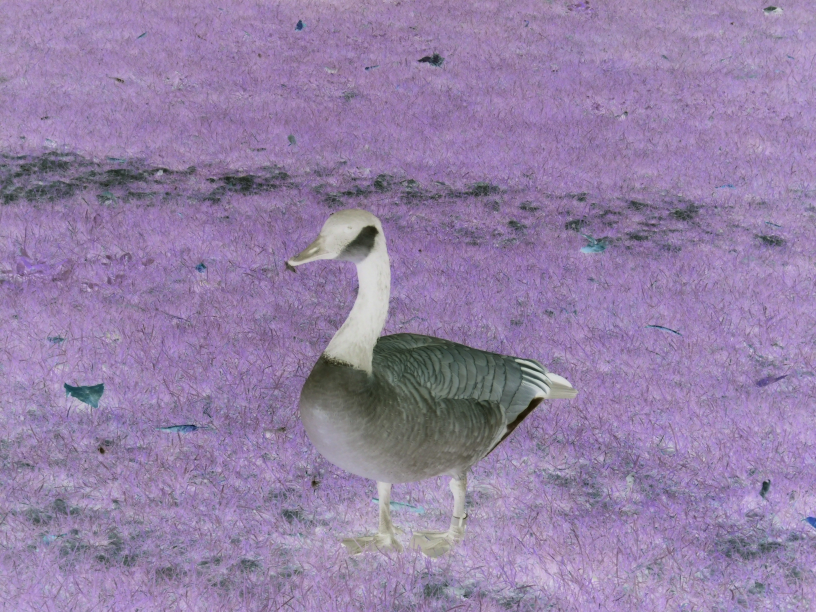
another effect we can apply is the negative of an image. this means that the dark areas become light, and the light areas become dark. for instance, if we have this image of a canadian goose:

by using any image editor, say irfanview , we can get the following negative:

this is a very easy effect to apply. since each of the red, green, and blue channels is represented by a byte, its value is in the range between 0 and 255. so we can compute the negative by subtracting each value from 255. that way a bright value (e.g. 210) will become dark (e.g. 45), and vice versa.
here’s the code for the negative image effect:
            case sdlk_n:
                for (int y = 0; y < image->h; y++)
                {
                    for (int x = 0; x < image->w; x++)
                    {
                        uint32 pixel = pixels[y * image->w + x];

                        uint8 r = pixel >> 16 & 0xff;
                        uint8 g = pixel >> 8 & 0xff;
                        uint8 b = pixel & 0xff;

                        r = 255 - r;
                        g = 255 - g;
                        b = 255 - b;

                        pixel = (0xff << 24) | (r << 16) | (g << 8) | b;
                        pixels[y * image->w + x] = pixel;
                    }
                }
                break;
            }
            break;
the code for negative is very similar to grayscale in that we’re looping over each pixel, calculating new values for red, green, and blue, and then applying the new value to the pixel.
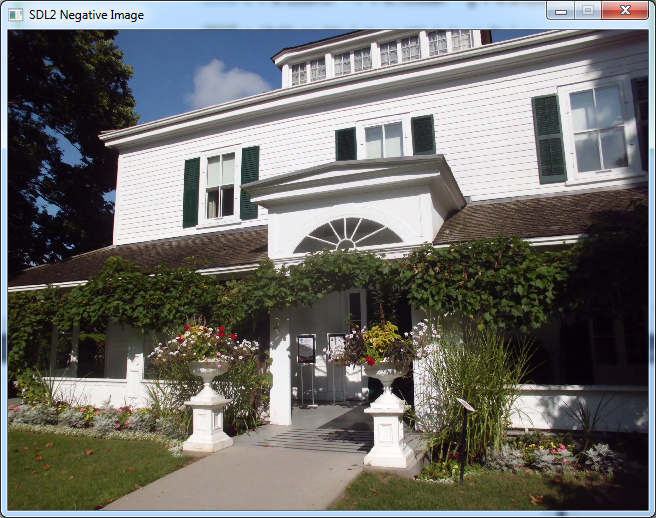
let’s try this out with a photo i took of eldon house in london, canada last september. here’s the photo in its normal state:

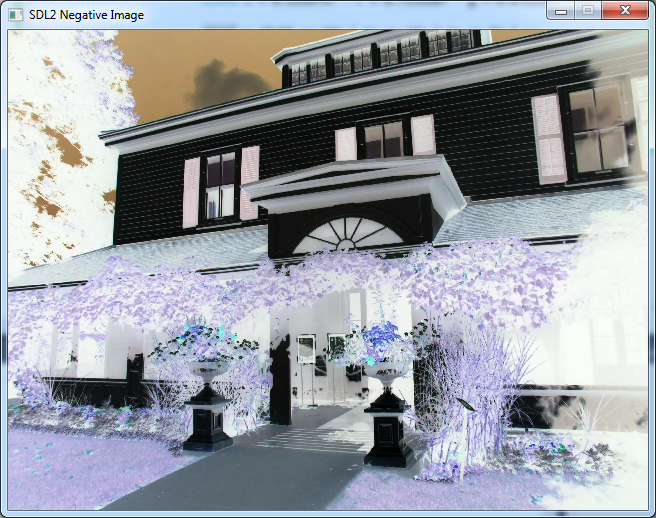
when i press the n key to apply the negative effect, here’s the result:

i can also press n again to apply negative on the negative, and end up with the original image again:

that’s an important difference between grayscale and negative. grayscale is an operation that loses colour information, and you can’t go back. negative, on the other hand, is symmetric, and you can go back to the original image simply by applying the same operation again.
the source code for this article is available at the gigi labs bitbucket repository . it’s the same as in the grayscale article, plus the code for the negative effect in this article.

