A Quick Guide to Using Popular ORM for Android Development
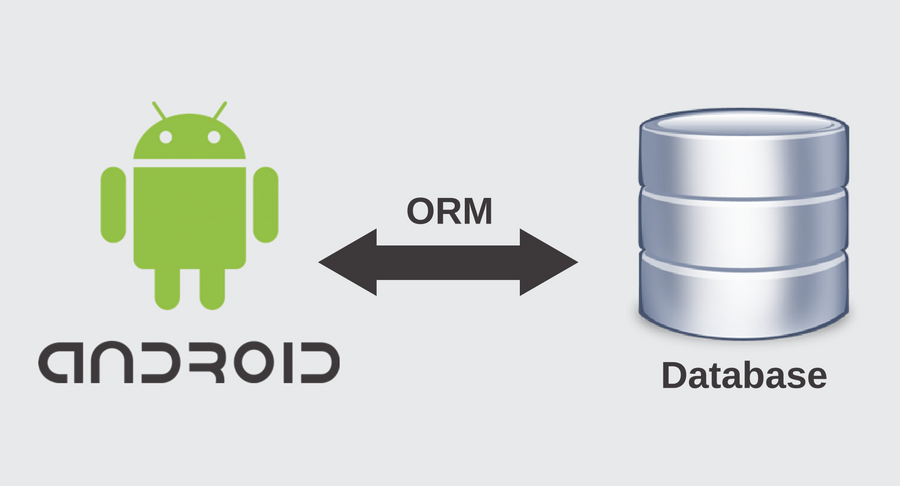
When developing an Android application, developers require a database to store the app data. Though there are various database solutions such as a cloud service or an embedded SQLite database, the best one of all is an ORM.
What Is ORM?
As defined by Techopedia: “Object-relational mapping (ORM) is a programming technique in which a metadata descriptor is used to connect object code to a relational database. Object code is written in object-oriented programming (OOP) languages such as Java or C#. ORM converts data between type systems that are unable to coexist within relational databases and OOP languages.”

ORMs make a developer's life easy. It allows them to avoid the struggle of developing queries by concatenating strings or handling the connections with database manually. Even typos aren’t a major threat to the queries. The security can be managed without worrying about the resistance to injecting attacks. This means a developer can focus on application functionalities while allowing the database to perform its job.
However, there are many ORMs available out there. We have highlighted the most popular ones below.
Sugar ORM
Built specifically for Android development, Sugar ORM features an API that is easy to learn and remember. It creates the tables on its own and provides a simple method to create one-to-one and one-to-many relationships. It further simplifies CRUD (Create, Read, Update and Delete) with just three functions - save(), delete(), and find() (or findById()).
For adding Sugar ORM to your Android project, you can use Gradle, Maven, or a JAR. Change the name of the application in AndroidManifest.xml and add the following metadata tags to set the name and version of database, enable logging of queries, or create tables by specifying the package name with entity classes.
<application android:label="@string/app_name" android:icon="@drawable/icon"
android:name="com.orm.SugarApp">
...
<meta-data android:name="DATABASE" android:value="hospital.db" />
<meta-data android:name="VERSION" android:value="1" />
<meta-data android:name="QUERY_LOG" android:value="true" />
<meta-data android:name="DOMAIN_PACKAGE_NAME" android:value="pl.epoint.mobiorm.project" />
...
</application>
Now, you can use Sugar ORM by manually creating the entity classes. Note that you do not have to set any annotations as Sugar ORM does this automatically by extending the class.
public class Patient extends SugarRecord {

    private String name
    private Hospital hospital;

    public Patient() {
        // Sugar ORM needs a no-arg constructor
    }

    // getters, setters and other constructors
}

public class Hospital extends SugarRecord {

    private String name

    public Hospital() {}

    // getters, setters and other constructors
}
Now, you can directly access Sugar ORM by using entity objects and query builder.
greenDAO
greenDAO requires no initial configuration when adding it to your application. You only need to use Maven or Gradle for using greenDAO ORM. If you do not use Maven or Gradle, then download greendao and greendao-generator JARs from Maven Central and add it as a library.
greenDAO itself generates classes for your project. However, it doesn’t require to create an additional Java project which gives you information about your database model and additionally, triggers class generation. Take a look at the example below:
public class ProjectGenerator {

    public static void main(String[] args) throws Exception {
        Schema schema = new Schema(1, "com.example.project");

        // hospital table
        Entity hospital = schema.addEntity("Hospital");
        hospital.addIdProperty();
        hospital.addStringProperty("name");

        // patient table
        Entity patient = schema.addEntity("Patient");
        patient.addIdProperty();
        patient.addStringProperty("name");
        Property hospitalId = patient.addLongProperty("hospitalId").getProperty();

        // patient has a one assigned hospital
        patient.addToOne(hospital, hospitalId);

        // hospital has many patients
        ToMany hospitalToPatients = hospital.addToMany(patient, hospitalId);
        hospitalToPatients.setName("patients");

        // trigger generation with path to the Android project
        new DaoGenerator().generateAll(schema, "../project/src/main/java");
    }
}
The class generation should resemble the snippet shown below. Notice that there’s a patient field added to the Hospital class by the greenDAO generator.
// THIS CODE IS GENERATED BY greenDAO, DO NOT EDIT. Enable "keep" sections if you want to edit.
/**
 * Entity mapped to table "PATIENT".
 */
public class Patient {

    private Long id;
    private String name
    private Long hospitalId;

    ...

    private Hospital hospital;

    ...
}

// THIS CODE IS GENERATED BY greenDAO, DO NOT EDIT. Enable "keep" sections if you want to edit.
/**
 * Entity mapped to table "HOSPITAL".
 */
public class Hospital {

    private Long id;
    private String name;

    ...

    private List<Patient> patients;

    ...
}
Just like its name, greenDAO uses DAOs to connect with a database. You can access DAOs as shown below:
DevOpenHelper helper = new DaoMaster.DevOpenHelper(this, "hospital-db", null);
SQLiteDatabase db = helper.getWritableDatabase();
DaoMaster daoMaster = new DaoMaster(db);
DaoSession daoSession = daoMaster.newSession();

HospitalDao hospitalDao = daoMaster.getHospitalDao();
PatientDao patientDao = daoMaster.getPatientDao();
However, you don’t need to write this code for each database operation. You can rather store the corresponding DAOs objects in Activity Classes or Applications.
There are many other popular ORMs like ORMLite, ActiveAndroid, Vertabelo Mobile ORM, and more. All of these ORMs help you make your jobs a bit easier. Which ORM would you prefer for your Android development project? Let us know in the comments below.

