Developing Alexa Skills With Spring Boot REST Services in Mind
In this article, I’m going to explain Amazon Alexa integration with your REST application service.
Technology used:
1. Java 1.8
2. Spring Boot 2
3. Alexa Skill Kit SDK – Java
4. Amazon development account (free for one year).
What Will This Application Do With Alexa?
It’s a simple application; it will provide you the information about your policy expiration date. A user has to provide their policy date and date of birth, and Alexa will respond back.
Example:
Scenario 1: Positive Scenario
User: Alexa, Open RedX Insurance.
Alexa: Welcome to RedX Insurance. Do you want to check your policy expiry date?
User: Yes.
Alexa: Please tell me your policy number.
User: A111.
Alexa: Thank you. Please tell me your date of birth.
User: 15 December 2017
Alexa: Policy going to expire on 16-Nov-2018. Thank you.
Scenario 2: Negative Scenario
User: Alexa, open RedX Insurance.
Alexa: Welcome to RedC Insurance. Do you want to check your policy expiry date?
User: Yes.
Alexa: Please tell me your policy number.
User: A111.
Alexa: Thank you. Please tell me your date of birth.
User: 15 December 2017.
Alexa: Sorry, policy not available. Thank you.
Configuration Alexa REST Client and Microservice Sample
Step 1
Download this source from the repository/import it directly into your IDE.
Step 2
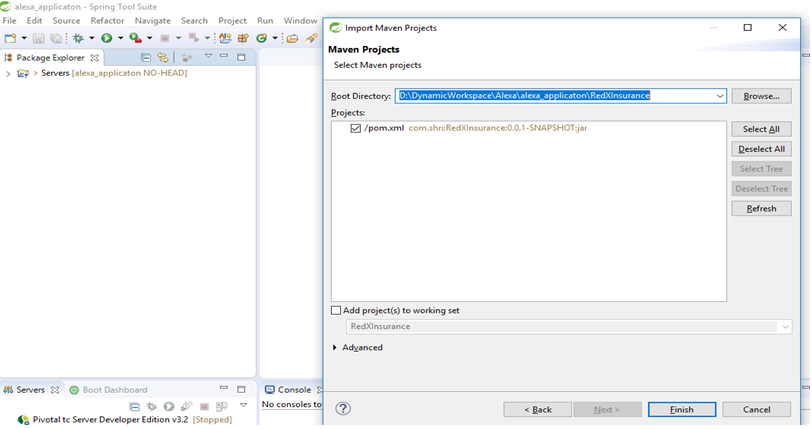
Configure a Spring microservice application in your IDE.
File -> Import->Existing Maven Project
Step 3
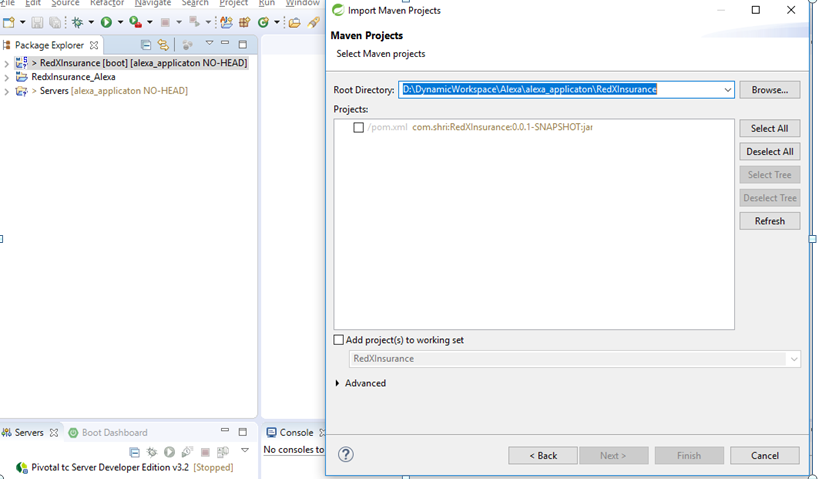
Configure the Alexa REST Client application in the IDE.
File -> import->Existing Maven Project
Step 4
We're using a MySQL database, so run this db.sql script.
Alexa REST Client Code Configuration Process
Step 1
Here is the reference application.
Step 2
Get my sample file from my GitHub, and you will see the sample application.
Step 3
Import the Alexa application in Eclipse.
Step 4
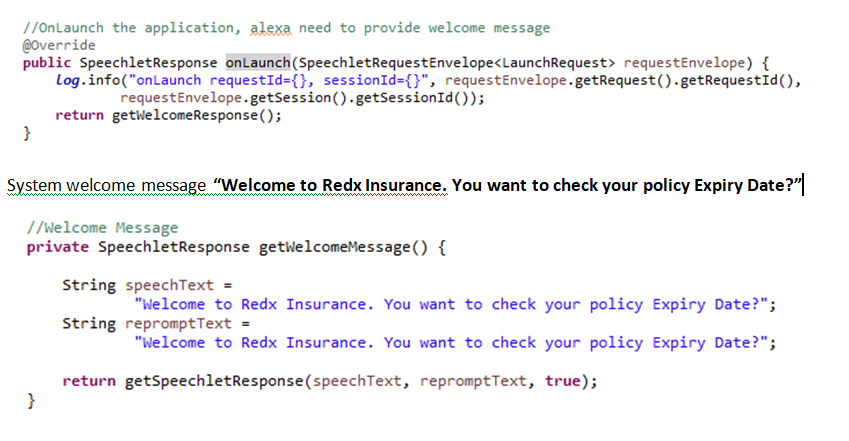
Set up the welcome message in the Alexa application:
AWS Free Account Creation Steps
Step 1
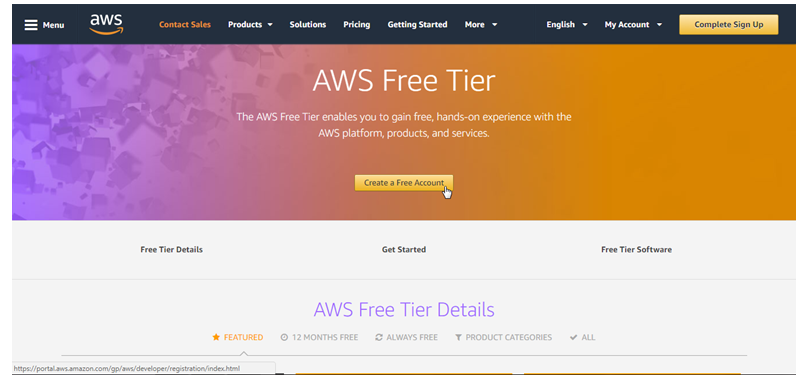
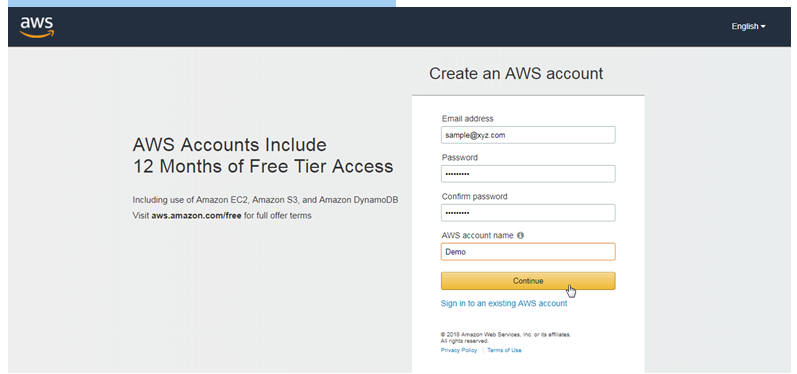
Click here and create a free account.
Step 2
Pass valid information and click continue.
Step 3
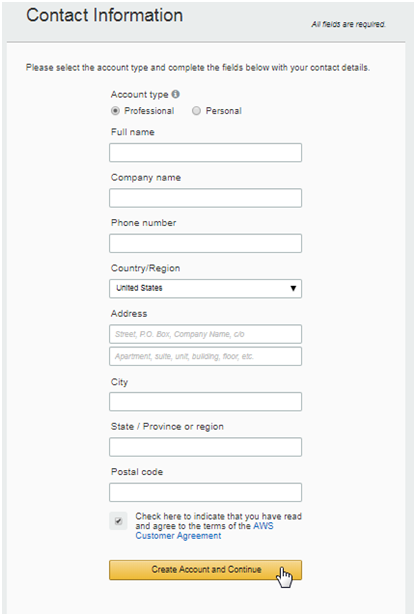
We're going to use a Professional account type. AWS free accounts are available for the USA region, so please set your country as USA.
Step 4
Click Create Account and continue.
Step 5
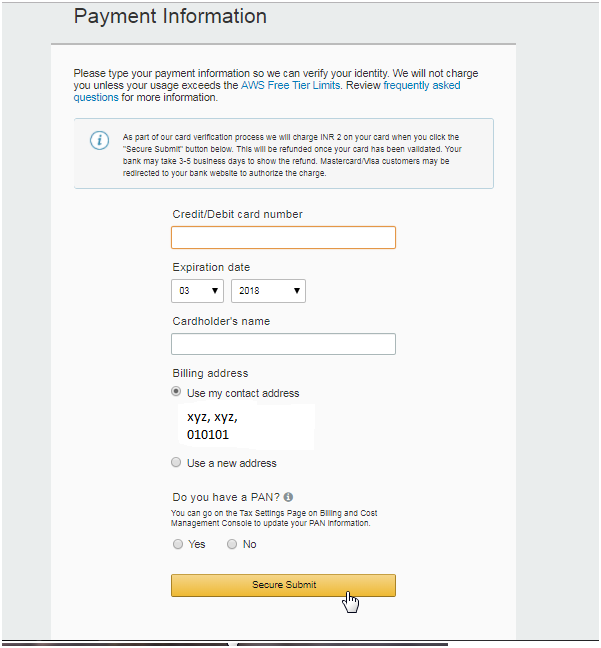
You'll need to pass credit card information. They won’t bill you for this step. After one year, they will ask you to select a plan. So, for one year, you can use this account and develop your Alexa projects.
Step 6
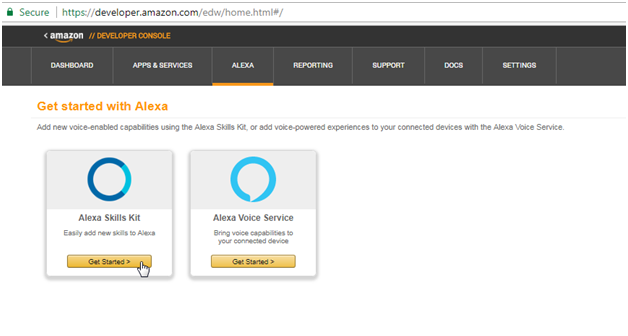
Log into the developer console:
Step 7
Start an Alexa skill:
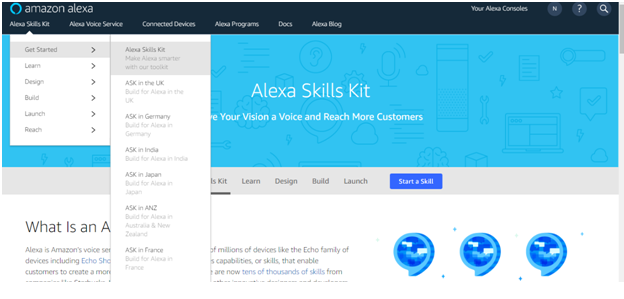
Step 8
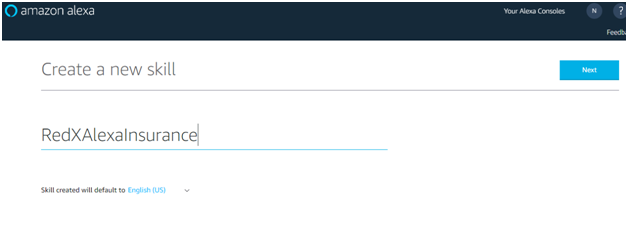
Create the skill:

Step 9
Create a new skill and name it RedXAlexaINsurance:
Step 10
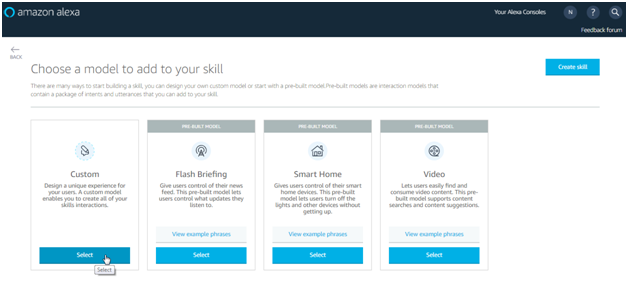
Select Custom Model to add to your skill:
Step 11
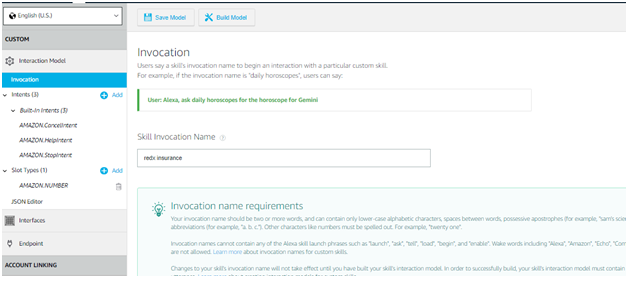
Invocation name creation:
Step 12
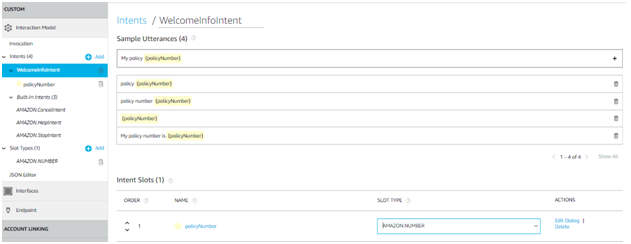
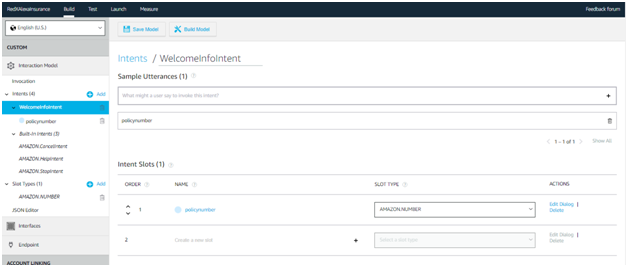
Create an Intent: policy number.
First, I create the Welcome Info Intent model:
Step 13
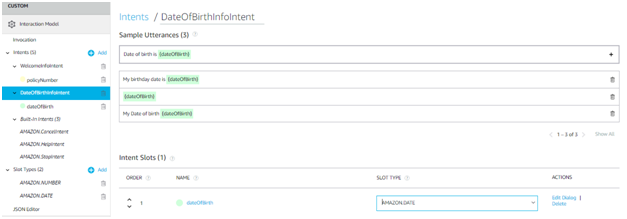
Then I created my Date of Birth Info Intent.
The Intent slot type is Amazone.Date:
Source Code : https://github.com/shrisowdhaman/alexa_applicaton/

