How to Create an Anypoint API Portal to Publish RAML-Based REST APIs
In continuation with one of my recent articles, How to Design a RAML-Based REST API With Mulesoft Anypoint API Manager, now you will learn how to publish an API with the Anypoint API portal.
Anypoint API portal enables you to share your API publicly or privately. With the RAML and API portal, your documentation is generated automatically and it will contain all the information required by users. You can even try calls out in real-time. The API portal even handles users and application registration, making APIs accessible to both you and your users.
Create Anypoint API Portal
Sign into Anypoint Mulesoft Platform and go to API Manager.
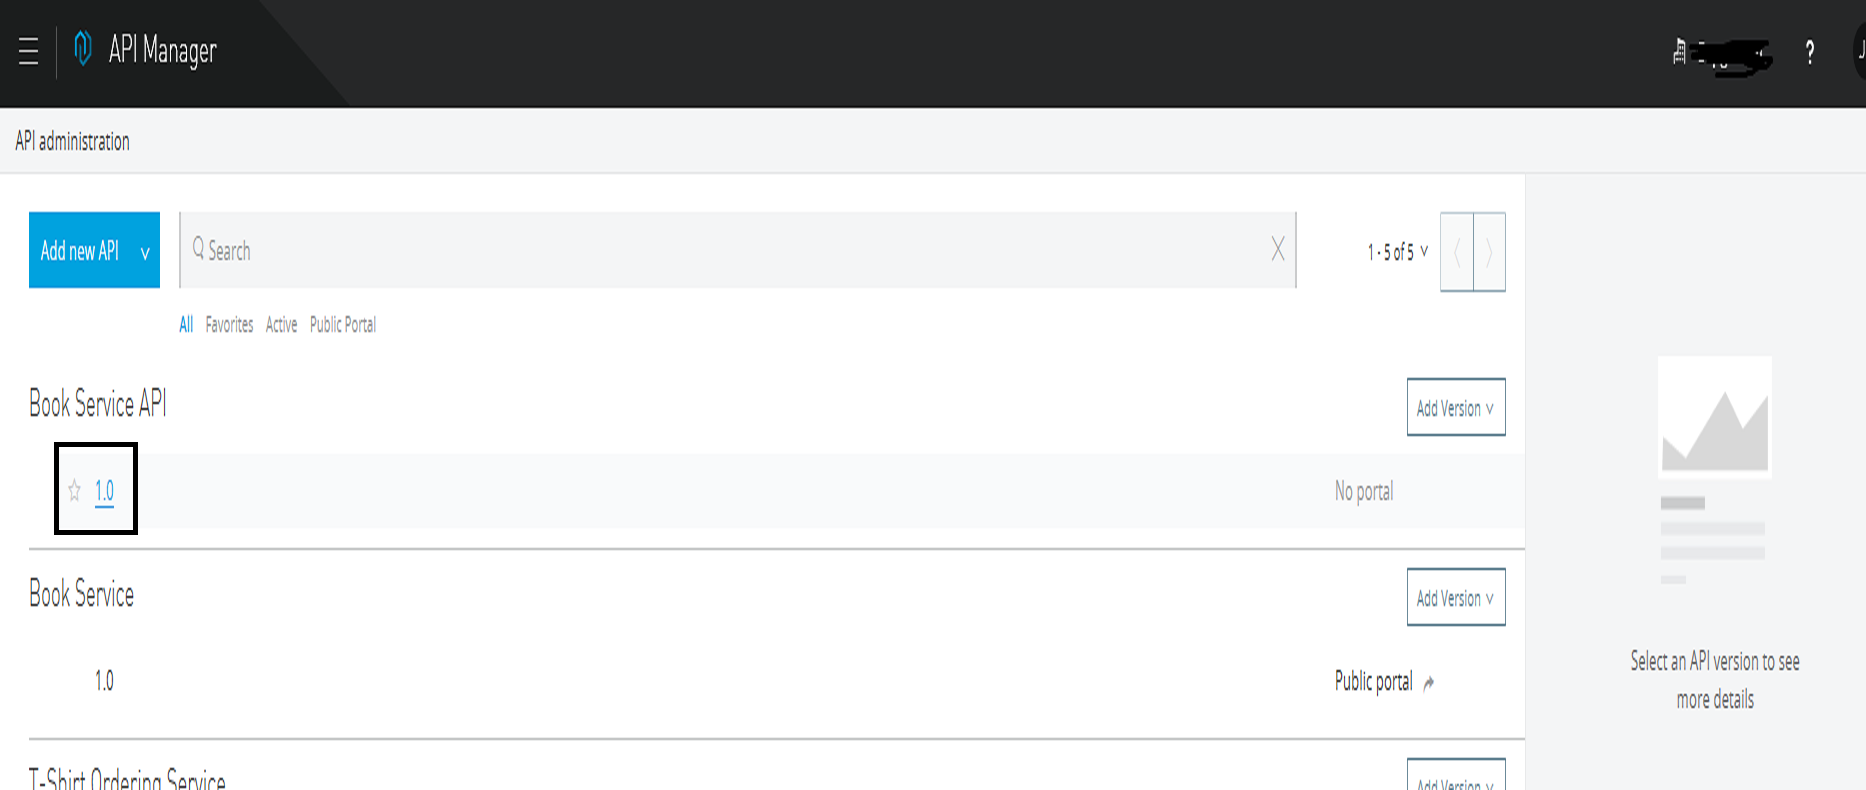
Click on the API that you need to publish and it will navigate to another page from which you can create a portal for your API.
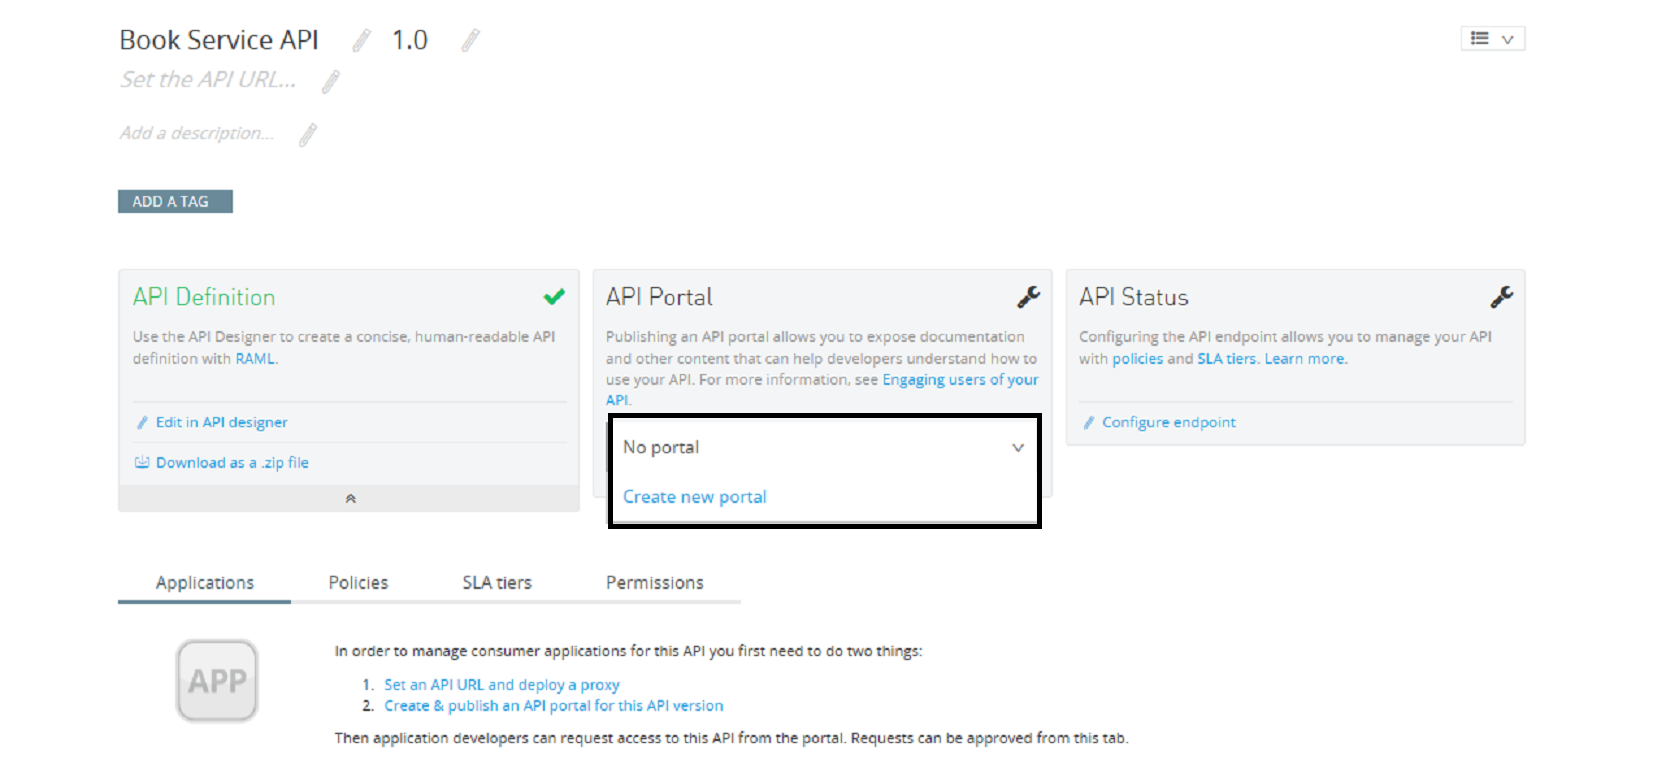
Now click on Create new portal and it will create a portal for your API and navigate you to the newly created portal for your API.

Customize API Portal
You can customize the portal according to your needs. At the top right, the Themes icon is given to add colors, logos etc.

Click on icon A to add a description to the portal. Similarly, there are some more icons given to add images and other things.
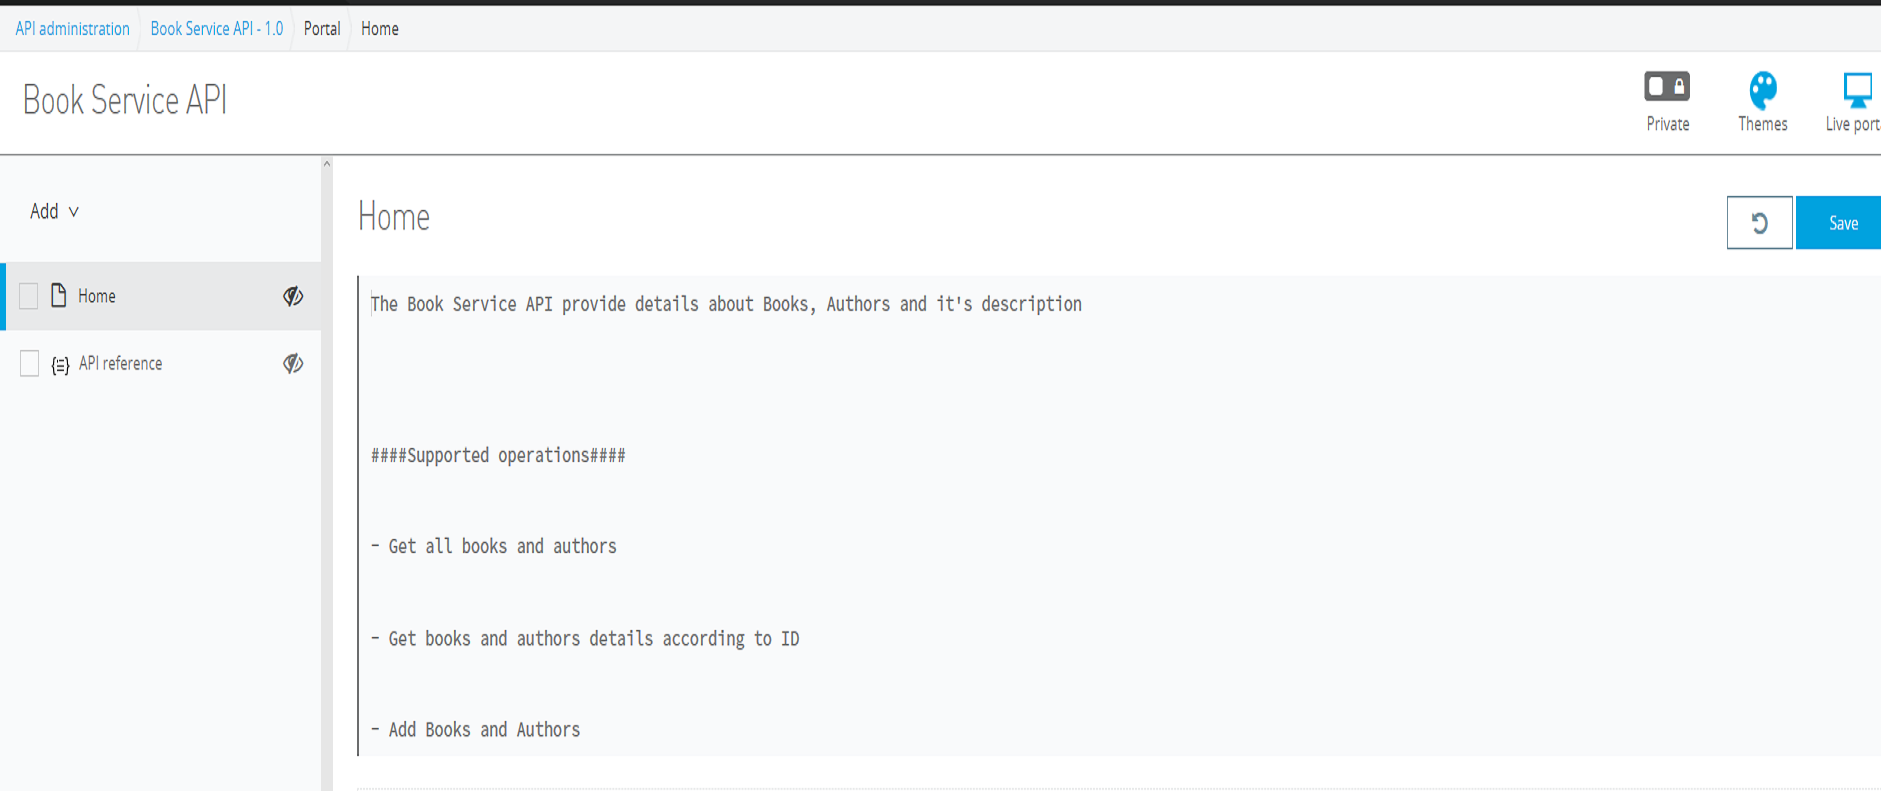
Publish API Portal Publicly or Privately
At the top of the portal, you can see the toggle button, which can help you publish your API publicly or privately.

Make API Portal Visible
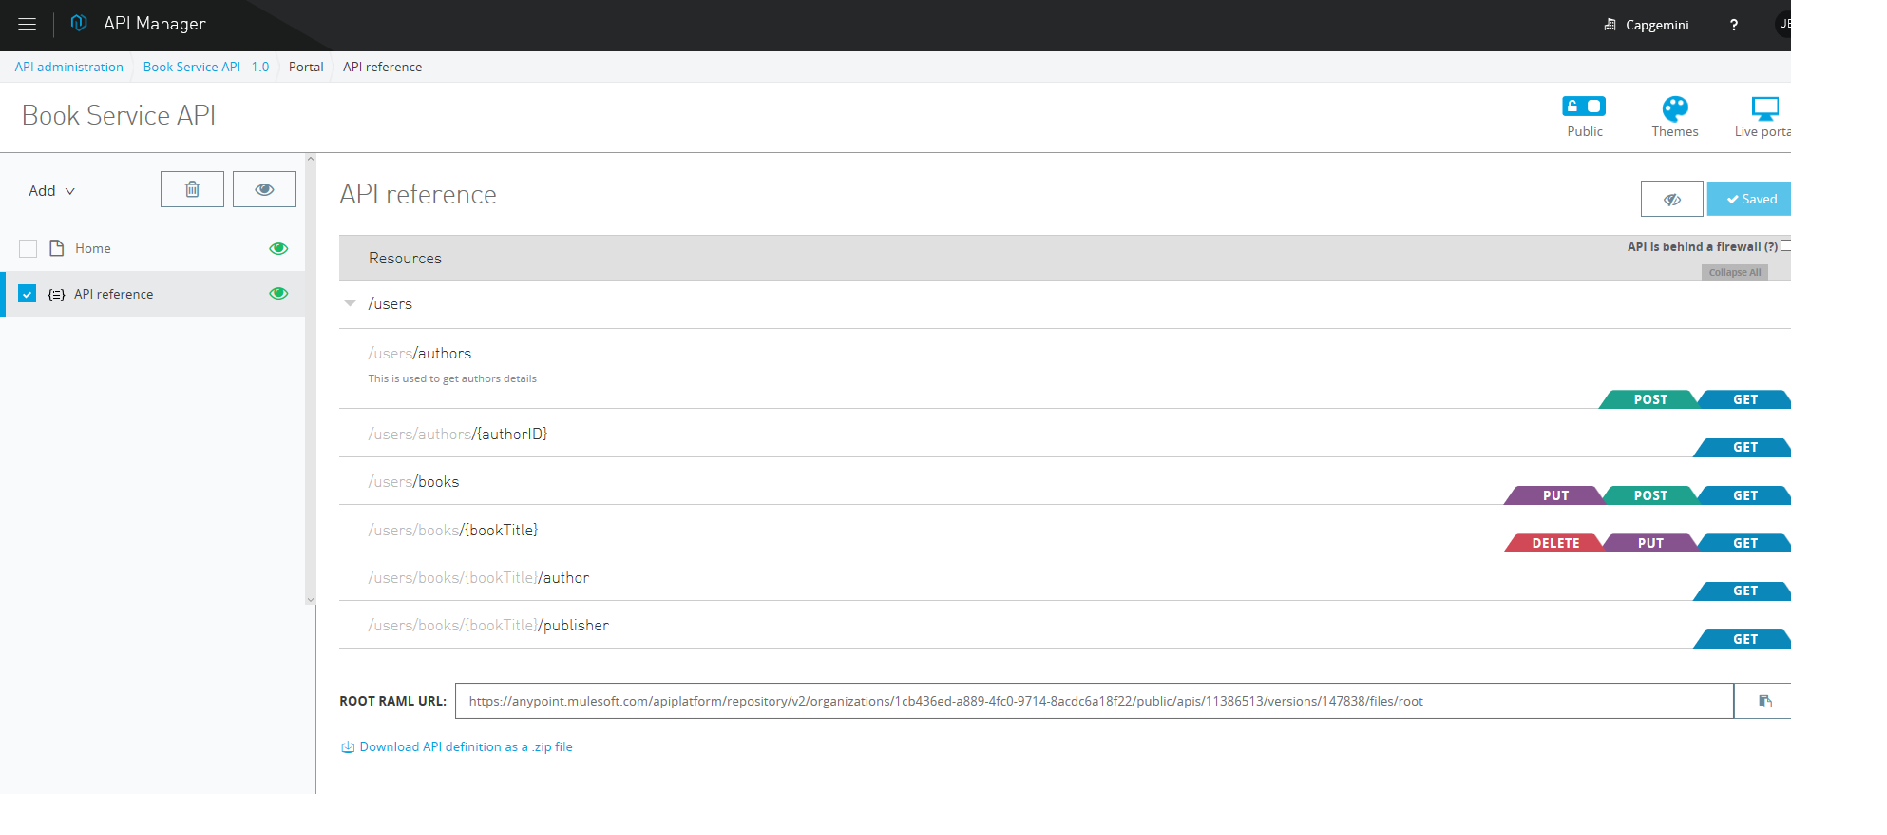
On the left side, you can see the eye symbol. Just check the box and Set to visible.

API Reference
API Reference provides documentation that is generated automatically and contains all of the information required by users. It also contains your RAML URL.
Live Portal
At the top on the right side, you can see the icon Live Portal. Once you click on that, it will take you to the live portal that will be visible to users.
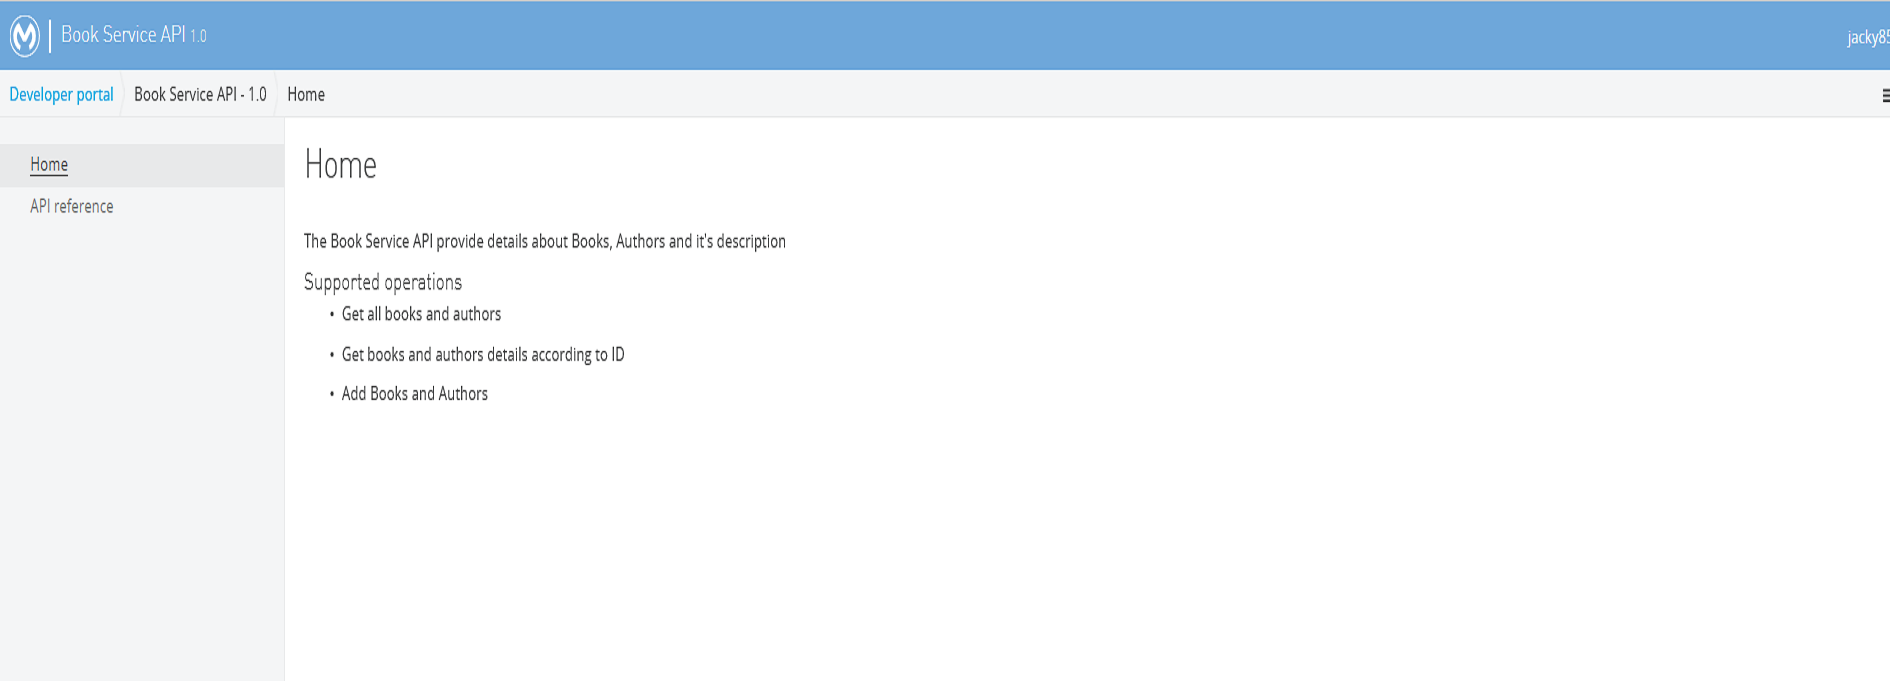
And we're done! Now you know how to publish RAML-based APIs with the Anypoint API Portal.
Here's a video tutorial:

