Database Handling in Cucumber and Creating Intuitive Reports
Cucumber is a testing framework that supports behavior-driven development (BDD). It enables us to define the application requirements/behavior in simple English steps. It uses plain meaningful English text using simple grammar defined by a language called Gherkin. Gherkin is a domain-specific, business-readable language, using which we can describe the application’s behavior without defining the details of how behavior is implemented. Gherkin language serves two main purposes: documentation and automated tests.
Ruby is an open-source, dynamic programming language. It has a simple syntax and it’s also known as the layman’s programming language. Cucumber, the tool itself is written in Ruby language, and it can be used to test code written in any languages including Ruby. Tests written in Cucumber interacts directly with the development code, the tests are written in simple language that is easy to understand by all business stakeholders. The file where the entire application behavior is written in simple English-Gherkin mix is called as “Feature file”
Working With Databases
Ensure we have the following prerequisite plugins installed before we start a Cucumber-Ruby project:
- Cucumber-Eclipse plugin.
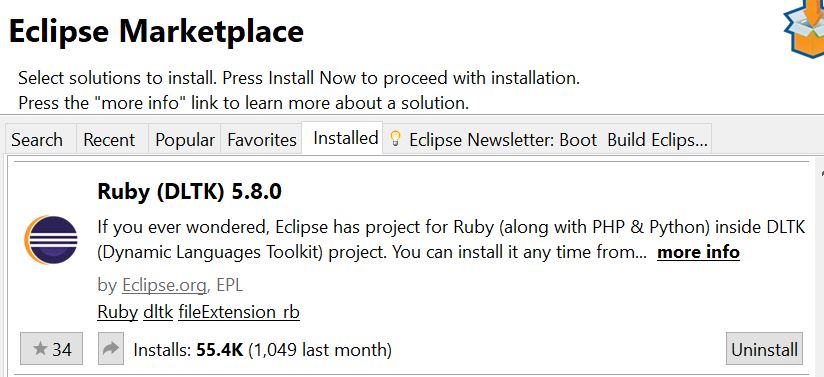
- Ruby (DLTK) (Note: Ruby will not come by default in Eclipse; we should search and install this plugin from Eclipse Marketplace).
To understand working with databases in Cucumber-Ruby, let's create a feature file for the following requirements:
- Establish a connection to a MySQL database.
- Get the version of database installed.
- List all the available MySQL databases in the system.
- Execute a simple query to get all rows in the database.
- Get the number of rows in the result set.
- Manipulate the result set.
Step 1
The feature file for the above steps is:
Feature: Handling MySQL Databases
  This feature file describes how to handle MySQL databases

  Scenario: To handle database
    Given Establish a database connection
    And Get the database version
    And List all databases in system
    And Execute query to get all database rows
    And Get the total rows
    Then Manipulate the result set
Step 2
The step definition file (implementation/glue code) is:
require 'mysql'

Given(/^Establish a database connection$/) do
  @con = Mysql.new '127.0.0.1','root','root','employee'
end

And(/^Get the database version$/) do
  puts @con.get_server_info()
end

And(/^List all databases in system$/) do
  @con.list_dbs.each do |db|
    puts db
  end
end

And(/^Execute query to get all database rows$/) do
  @rs = @con.query("select * from emp")
end

And(/^Get the total rows$/) do
  @n_rows = @rs.num_rows
  puts "There are #{@n_rows} rows in the result set"
end

Then(/^Manipulate the result set$/) do
  @n_rows.times do
  puts @rs.fetch_row().join("\s")
  end
end
To work with MySQL databases, we need to install the mysql gem using the command gem install mysql.
Load the mysql package using the require statement in the step definition file. Create a connection object and connect to the database using the new method. It is important to provide the database URL, username, password, and name of the database.
In the above code snippet, we are connecting to the employee database available in 127.0.0.1 (localhost) using “root” as the username and password. get_server_info() is used to get the database version. list_dbs retrieves all the available databases in the system
When used with the .each method, it retrieves all databases one-by-one. To get all rows in the connected database, use the query method followed by select statement. num_rows will get the total number of rows in the executed query result set.
To manipulate the rows, use the fetch_row() method. fetch_row() will fetch one complete row at the time from the result set. When fetch_row() is combined with join(), it will join all the values in one row.
Execute the package using the cucumber keyword in the command prompt. Cucumber reads the feature file line-by-line, matches it with the relevant step in the step definition file, and executes the entire script.
The output will be as follows:
C:\Selenium\Rubyworkspace\Cucumberproj\Package19>cucumber
*** WARNING: You must use ANSICON 1.31 or higher (https://github.com/adoxa/ansicon/) to get coloured output on Windows
Feature: Handling MySQL Databases
This feature file describes how to handle MySQL databases

  Scenario: To handle database                 # features/database.feature:4
    Given Establish a database connection      # features/Stepdef.rb:3
    And Get the database version               # features/Stepdef.rb:7
      5.0.85-community-nt
    And List all databases in system           # features/Stepdef.rb:11
      information_schema
      employee
      mysql
      test
      testme
    And Execute query to get all database rows # features/Stepdef.rb:17
    And Get the total rows                     # features/Stepdef.rb:21
      There are 3 rows in the result set
    Then Manipulate the result set             # features/Stepdef.rb:26
      101 John 10000
      102 Peter 20000
      103 Mary 30000

1 scenario (1 passed)
6 steps (6 passed)
0m0.431s
How to Create HTML Reports Using Cucumber-Ruby
Cucumber supports the pretty format, which enables Cucumber to generate test reports in HTML format. HTML reports are very flexible, intuitive, and easily accessible. We can define the location where we want to have our HTML report created.
We have to use the –format tag to generate an HTML report. The command to generate an HTML report is cucumber --format html --out report.html. html is the type of report we want to create and report.html is the name of the report file we want to create.
Execute the command in command prompt as below:
C:\Selenium\Rubyworkspace\Cucumberproj\Package19>cucumber --format html --out report.htmlAfter successful execution, refresh the project folder in Eclipse. We can able to see the report.html file created under the project.
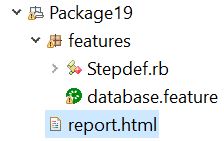
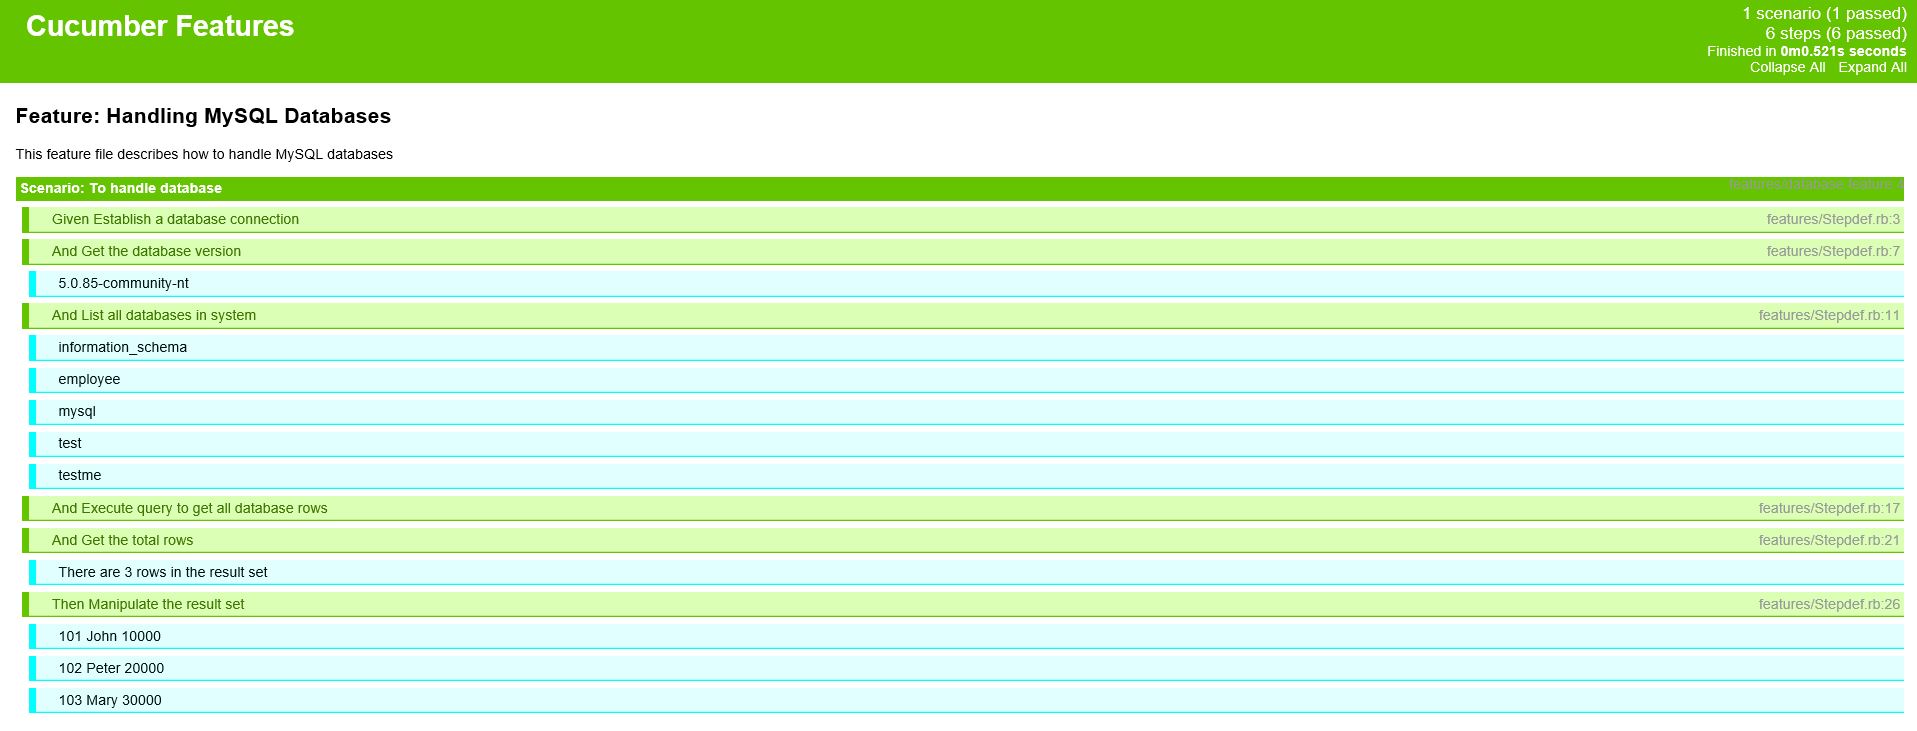
Open report.html in a browser. We are able to see the below output:
How to Create JSON Reports Using Cucumber-Ruby
Cucumber supports JSON format, which enables Cucumber to generate test reports in JSON format. This report can be processed into another visual format by third-party tools such as Jenkins.
Execute the command in command prompt as below:
C:\Selenium\Rubyworkspace\Cucumberproj\Package19>cucumber --format html --out report.jsonAfter successful execution, refresh the project folder in Eclipse. We can see the report.json file created under the project:
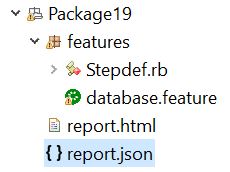
Open report.json in a browser. We can see the below output:
<!DOCTYPE html PUBLIC "-//W3C//DTD XHTML 1.0 Strict//EN" "http://www.w3.org/TR/xhtml1/DTD/xhtml1-strict.dtd"><html xmlns ="http://www.w3.org/1999/xhtml"><head><meta http-equiv="Content-Type" content="text/html;charset=utf-8"/><title>Cucumber</title><style type="text/css">/* cucumber.css is generated from cucumber.sass */
/* Regenerate with rake sass */
body {
  font-size: 0px;
  color: white;
  margin: 0px;
  padding: 0px;
}

.cucumber, td, th {
  font: normal 11px "Lucida Grande", Helvetica, sans-serif;
  background: white;
  color: black;
}
.cucumber #cucumber-header, td #cucumber-header, th #cucumber-header {
  background: #65c400;
  color: white;
  height: 6em;
}
.cucumber #cucumber-header #expand-collapse p, td #cucumber-header #expand-collapse p, th #cucumber-header #expand-collapse p {
  float: right;
  margin: 0 0 0 10px;
}
.cucumber .scenario h3, td .scenario h3, th .scenario h3, .background h3 {
  font-size: 11px;
  padding: 3px;
  margin: 0;
  background: #65c400;
  color: white;
  font-weight: bold;
}
How to Create XML Reports Using Cucumber-Ruby
Cucumber supports XML format, which enables Cucumber to generate test reports in XML format like Apache ANT used in JUnit. This report can be processed into another visual format by third-party tools such as Jenkins.
Execute the command in command prompt as below:
C:\Selenium\Rubyworkspace\Cucumberproj\Package19>cucumber --format junit --out reportAfter successful execution, refresh the project folder in Eclipse. This creates a folder called report and inside that, it creates an XML report.
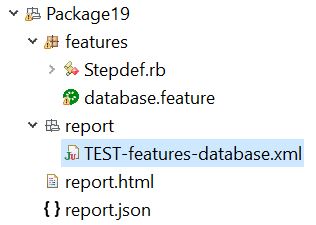
Open TEST-features-database.xml inside report folder in a browser. We are able to see the below output:
testsuite failures="0" errors="0" skipped="0" tests="1" time="0.463088" name="Handling MySQL Databases">
<testcase classname="Handling MySQL Databases" name="To handle database" time="0.463088">
	<system-out>
		<![CDATA[ ]]>
	</system-out>
	<system-err>
		<![CDATA[ ]]>
	</system-err>
</testcase>undefined</testsuite>
