Docker Commands You Should Know as a Beginner
Before going into the functionality and features of Docker, we need to understand why we need Docker.

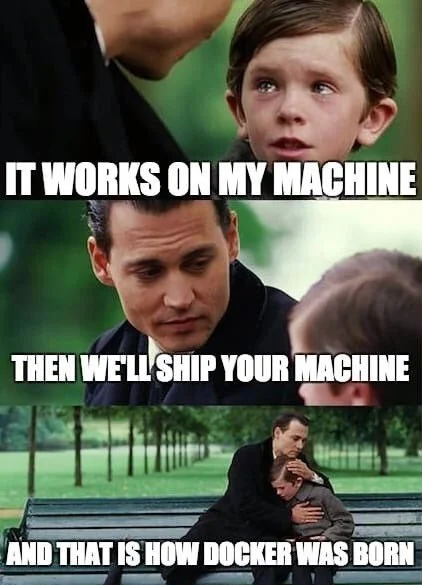
If you have been around this industry for quite some time now, then you would have come across this meme about the introduction of Docker. Well, this meme is apparently funny but somehow turns out to be a factual one.
Life Before Docker
Before the introduction of Docker, shipping applications to the intended users were not only a complex task but tedious as well. The artifacts like zip files, wheel files, or even JAR files were shipped to the user which was then deployed on their machines. Now, you will wonder if this method of shipping and deploying applications was successful or not.
The answer lies in the after-effects of the deployment of the applications. Once an application or software is deployed on the user's machine, it may not work as intended. Two of the main reasons why the applications do not perform the same way in all the machines are:
- Applications version discrepancy between different machines
- Inconsistent environment variables across machines
Docker helped in solving both the problems by packaging software in a way that the versions for all the parts of the software are defined in a file called Dockerfile.
Dockerfile
Dockerfile is a text-based document that contains all the information about the software dependencies. Dockerfile is executed on the user's system and with the help of commands listed in the Dockerfile the software is installed on the user's system.
Usually the Dockerfile is the only thing shipped to the user
# file.py
print('Hello All')
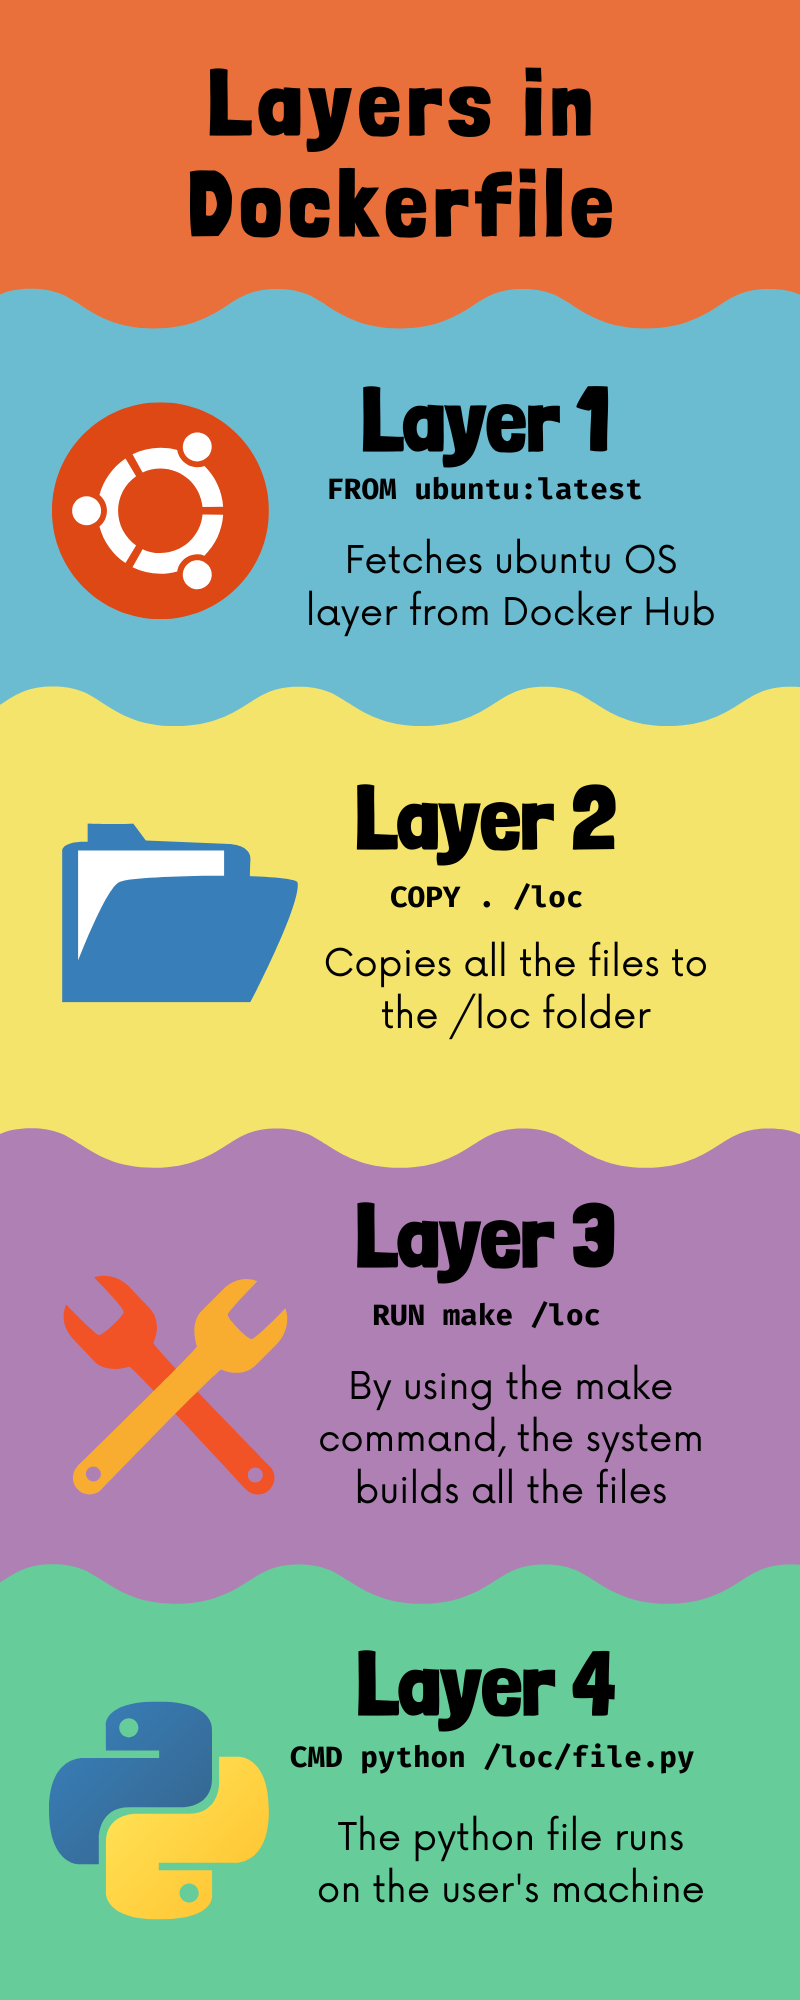
The following is a sample Dockerfile to understand the concept.
FROM ubuntu:latest
COPY . /loc
RUN make /loc
CMD python /loc/file.py
Let us see how the above Dockerfile works.
1. FROM ubuntu:latest: This creates a layer of the ubuntu operating system on which the rest of the commands from the Dockerfile can be executed. As soon as this line is executed, the ubuntu OS is downloaded from the Docker Hub.
2. COPY . /loc: This copies all the files from the current directory to the /loc directory.
3. RUN make /loc: Once we have our ubuntu OS installed, we can use make command to compile the files in /loc directory.
4. CMD python /loc/file.py: Using the CMD command, the python file file.py is executed on the user's machine.

Please note, this is a basic Dockerfile, which is far away from from the Dockerfile used for a real software release.
How To Run a Dockerfile?
Once the Dockerfile is shipped to the user, the Dockerfile should be executed using some special commands. Let us see the process of executing a Dockerfile.
Building the Dockerfile
docker build -t mudit111/docker .
Basically, build command is used to create a Docker image from a Dockerfile. The syntax of the command uses -t to name your newly created Docker image. The . used at the end of the command tells the compiler that the Dockerfile is present in the current directory only.
Now, if you try to find out the Docker image in the current directory you will not find anything since the Docker image is not stored as a single file. The storage of a Docker image is taken care of by the system. But what if you need to look at the images present in the system at a point in time? We will see that in our next section.
Listing the Docker images
docker image
Using the above command you can easily list down all the Docker images currently in the system. The listing of the Docker images would include the following details:
- REPOSITORY
- TAG
- IMAGE_ID
- CREATED
- SIZE

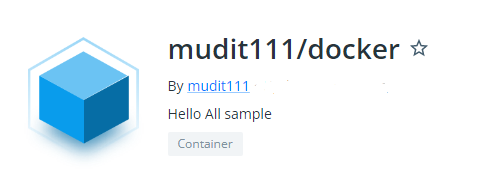
These Docker images can also be pushed to the Docker Hub for other users to download your project easily. Docker Hub is similar to GitHub. Just like GitHub stores your code, Docker Hub stores Docker images.
Running a Docker Image
docker run mudit111/docker
Running the mudit111/docker Docker image, you will get the output as:

As soon as a Docker image is run, a docker container is created. The Docker container stays in a running state until the completion of the Docker image. Once the Docker image is complete, the Docker container stops automatically.
Listing the Docker Containers
docker ps
This command helps in viewing the running containers. But, this will list down only those containers that are still in a running state. The containers which were created and are now stopped will not be shown using this command. For listing all the containers, including the ones which are currently not in running state, you need to use -all at the end of the existing command.

As our container is currently not running, the docker ps command will not show anything. But, adding -all at the end of the command will show all the stopped as well as running containers.
Pushing a Docker Image to Docker Hub
docker push mudit111/docker
Once the Docker image has been created, you can easily publish the image to Docker Hub using docker push command. Pushing the Docker image to Docker Hub enables users around the globe to access your Docker image on their machine.
Before you can push your Docker image to Docker Hub, you should have a valid Docker Hub account.

Similarly, you can also pull any public Docker image from Docker Hub
Pulling a Docker Image From Docker Hub
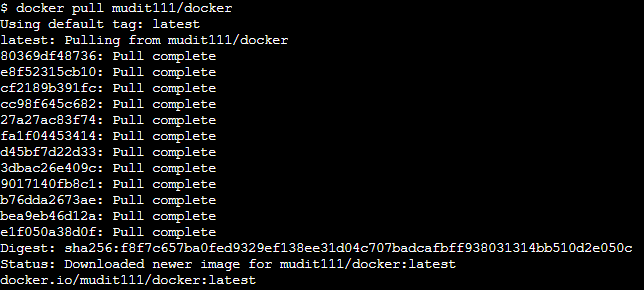
docker pull mudit111/docker
By using the docker pull command, you can get any Docker image into your system. Once the Docker image is downloaded to your system, you can use docker run to run the image.

Once you are through with these commands, you can try to make a sample Dockerfile and upload it to the Docker Hub. You can, then, ask anyone to download your Docker image from Docker Hub and try to run the image.
If you want to try using the Docker commands interactively, you can signup on Docker Playground

