Automate Private Azure Databricks Unity Catalog Creation

Disclaimer: All the views and opinions expressed in the blog belong solely to the author and not necessarily to the author's employer or any other group or individual. This article is not a promotion for any cloud/data management platform. All the images and code snippets are publicly available on the Azure/Databricks website.
What Is Databricks?
Databricks is a powerful platform that helps people work with large amounts of data easily. It allows companies to store, process, and analyze their data in one place.
- Unified platform: It combines multiple functions — data storage, processing, analytics, and machine learning — in one platform. This makes it easier for teams to work on data projects without jumping between different tools.
- Scalability: Databricks is built on cloud infrastructure (like AWS, Azure, and Google Cloud), so it can handle large-scale data projects and grow with a company’s needs. Whether you have a small dataset or huge volumes of data, it works smoothly.
- Collaboration: Databricks makes it easy for data engineers, analysts, and data scientists to work together in one space using notebooks and shared environments. Teams can collaborate on code and data workflows in real time, which speeds up projects.
- Optimized for Big Data: It’s built on Apache Spark, which is known for processing big data quickly and efficiently. Databricks makes Spark easy to use and highly optimized, helping teams get faster insights from massive datasets.
- AI and machine learning support: Databricks integrates powerful AI and machine learning tools, making it simple for companies to apply advanced models to their data. This is especially important as more businesses want to use AI to get better insights.
- Cloud flexibility: Being cloud-based, Databricks offers on-demand resources, meaning companies only pay for what they use and can quickly scale up or down without investing in hardware.
- Data governance: Features like Unity Catalog and automated workflows ensure that data is properly managed, secure, and compliant with regulations, which is important for enterprises handling sensitive information.
- Ease of use: Databricks abstracts away much of the complexity of managing data pipelines, making it more user-friendly than traditional big data tools, especially for organizations without deep technical expertise.
What Is Databricks Unity Catalog?
Databricks Unity Catalog is a tool that helps manage and organize data across an organization in a simple, secure way. It allows companies to keep track of all their data, making it easier to find, share, and control who can access it. Unity Catalog works across different cloud storage systems and lets teams manage permissions, governance, and data access from one place, ensuring data is used safely and efficiently.
Why Unity Catalog Creation Should Be Automated
- Consistency and standardization: Automation ensures that all catalogs are created following consistent structures and rules across the organization. This avoids errors or variations when setting up new catalogs manually and guarantees that data governance policies are followed.
- Efficiency and time-saving: Manually creating catalogs, setting up permissions, and organizing data can be time-consuming. Automation speeds up the process, allowing teams to focus on more valuable tasks like data analysis and decision-making instead of repetitive setup work.
- Error reduction: Human error during manual catalog creation can lead to misconfigurations, missing permissions, or data exposure. Automation reduces the risk of mistakes by following predefined rules and templates for every new catalog.
- Security and compliance: Automating catalog creation helps enforce security policies and compliance regulations consistently. It ensures that data is properly cataloged, and the right access controls are applied from the beginning, reducing the risk of sensitive data breaches.
How to Automate Unity Catalog Creation in an Azure Subscription
The step-by-step guide below is to create the Unity Catalog from scratch in an Azure Subscription. The script assumes below Azure services are configured properly. The script only creates the necessary components inside the Databricks workspace.
Prerequisites
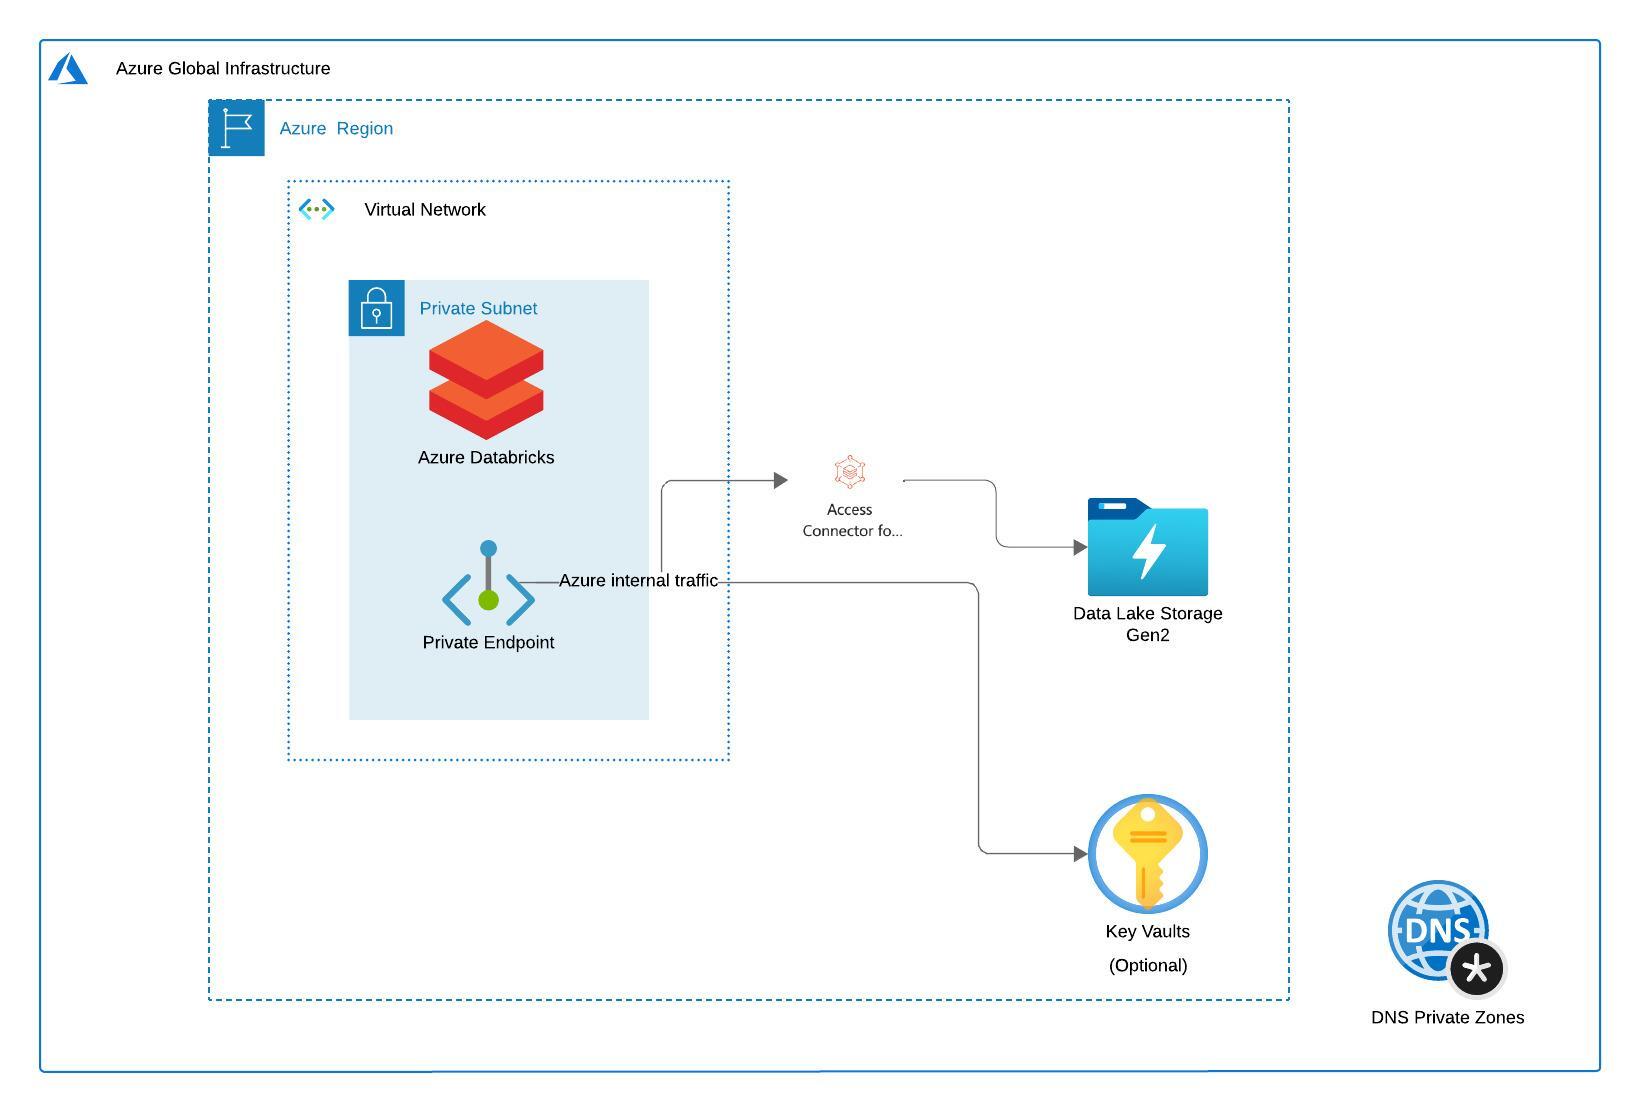
- The Azure services below are configured before running the automation script.
- Azure Storage Account (SA) with hierarchical namespace enabled
- At least one container is present inside the SA for storing Unity Catalog metadata.
- Private Endpoints (Blob & DFS) and Private DNS configuration are present to connect to the SA privately using the DNS name from the Databricks workspace.
- Access Connector for Azure Databricks with a "Storage Blob Data Contributor" role in the SA
- An Azure Databricks workspace is created with Public Network Access disabled.
- (Optional) Configure Azure Key Vault service to store secrets (e.g.,
api_token) and read the secret privately in Databricks Notebook.
- The user running the script has workspace admin rights on the Azure Databricks workspace.
Automation Script
Step 1: Create a Notebook and Install Databricks SDK
Login to the Databricks workspace and create a new Notebook by clicking on the "New" button in the upper left corner of the home page. Copy and paste the below Python code into the cell and run it. This will install the Databricks SDK.
%python
%pip install databricks-sdk --upgrade
dbutils.library.restartPython()
Step 2: Create Storage Credential
A storage credential represents an authentication and authorization mechanism for accessing data stored on your cloud tenant, using an Azure-managed identity or service principal for Azure Data Lake Storage Gen2 containers. Copy and paste the Python code below into the next cell and run it to create the storage credential for the catalog.
%python
import time
from pyspark.sql import functions as F
from databricks.sdk import WorkspaceClient
from databricks.sdk.service import catalog

databricks_url = 'https://adb-xxxx.azuredatabricks.net/' # replace the url with your workspace url
api_token = 'xxxx' # replace the token with your personal access token for the workspace. Best practice - store the token in Azure KV and retrieve the token using key-vault scope.

w = WorkspaceClient(host=databricks_url, token=api_token)

storage_cred = 'storage_cred' # replace the credential name with your choosen name

access_connector_id = '/subscriptions/xxx/resourceGroups/xxx/providers/Microsoft.Databricks/accessConnectors/xxx' # replace the id with your Azure Databricks Access Connector Id

storage_cred = w.storage_credentials.create(
    name=storage_cred,
    azure_managed_identity=catalog.AzureManagedIdentityRequest(access_connector_id=access_connector_id))
Step 3: Create an External Location
An external location is an object that combines a cloud storage path with a storage credential that authorizes access to the cloud storage path. Each storage location is subject to Unity Catalog access-control policies that control which users and groups can access the credential. Copy and paste the code below into the next cell and run it.
CREATE EXTERNAL LOCATION IF NOT EXISTS 'external_loc' -- Replace the External Location name as needed
URL 'abfss://CONTAINER_NAME@STORAGE_ACCOUNT_NAME.dfs.core.windows.net/'  -- Replace the Storage Account and Container name with the ones that you have created in the Azure
WITH (STORAGE CREDENTIAL 'STORAGE_CREDENTIAL_NAME') -- Replace the Storage Credential name with the one created in the earlier step
Step 4: Create a New Catalog
Now you can create a new catalog using an SQL command. Copy and paste the code below into the next cell and run it.
CREATE CATALOG IF NOT EXISTS 'catalog' -- Replace the Catalog name as necessary
MANAGED LOCATION 'abfss://CONTAINER_NAME@STORAGE_ACCOUNT_NAME.dfs.core.windows.net/'  -- Replace the Storage Account and Container name with the ones that you have created in the Azure
Step 5: Validation
Click on Catalog on the workspace homepage.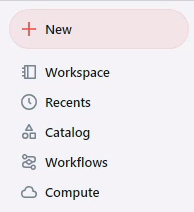
You should see a new catalog in the workspace when you navigate to the catalog section. Expand the catalog by clicking on the ">" icon next to the catalog. You should see a default schema. Now select the default schema and create a new table. 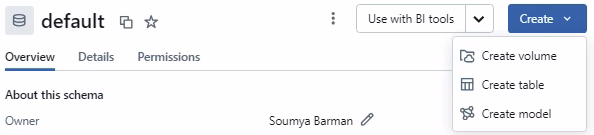
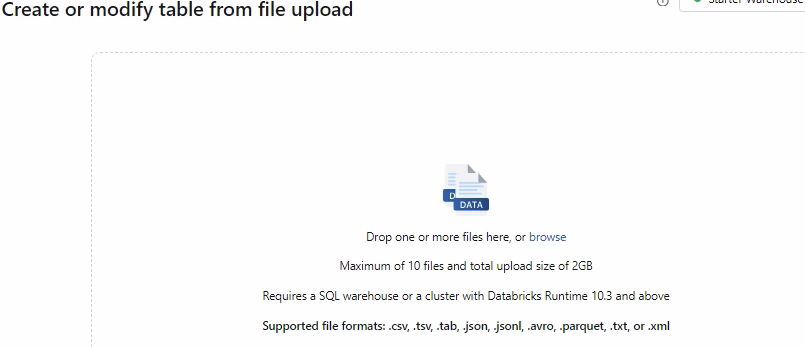
You can upload a file with valid data with any of the supported file formats (.csv, .tsv, .tab, .json, .jsonl, .avro, .parquet, .txt, or .xml) to create a table in Unity Catalog.
Once the table is created you can see the table in the catalog under the default schema. You can open a SQL Notebook and query the table. Also if you navigate to the Container inside the Azure Storage Account. You should see the table metadata inside the __unitystorage folder.
