Getting Started With Postgres: Three Free and Easy Ways
Hello, fellow developers! This year, approximately 90,000 of us participated in the Stack Overflow survey. Impressively, we crowned Postgres as the #1 database. Moreover, DB Engines also spotlights PostgreSQL as one of the fastest-growing databases worldwide. What does this mean for us?
It's clear that we should strive to become PostgreSQL experts. An essential step in this direction is setting up our own database for hands-on experiments.
So, whether you prefer reading or watching, let’s walk through three practical, user-friendly, and absolutely free ways to kickstart your PostgreSQL journey.
Option #1: Dive Into Postgres With Docker
The simplest and most pocket-friendly way to start your journey with PostgreSQL is Docker.

That's right: with a single Docker command, you have your database container humming merrily on your laptop:
docker run --name postgresql \
    -e POSTGRES_USER=postgres -e POSTGRES_PASSWORD=password \
    -p 5432:5432 \
    -d postgres:latest
The advantages are immense! Setting up your database is incredibly fast, and guess what? It all happens right on your hardware.
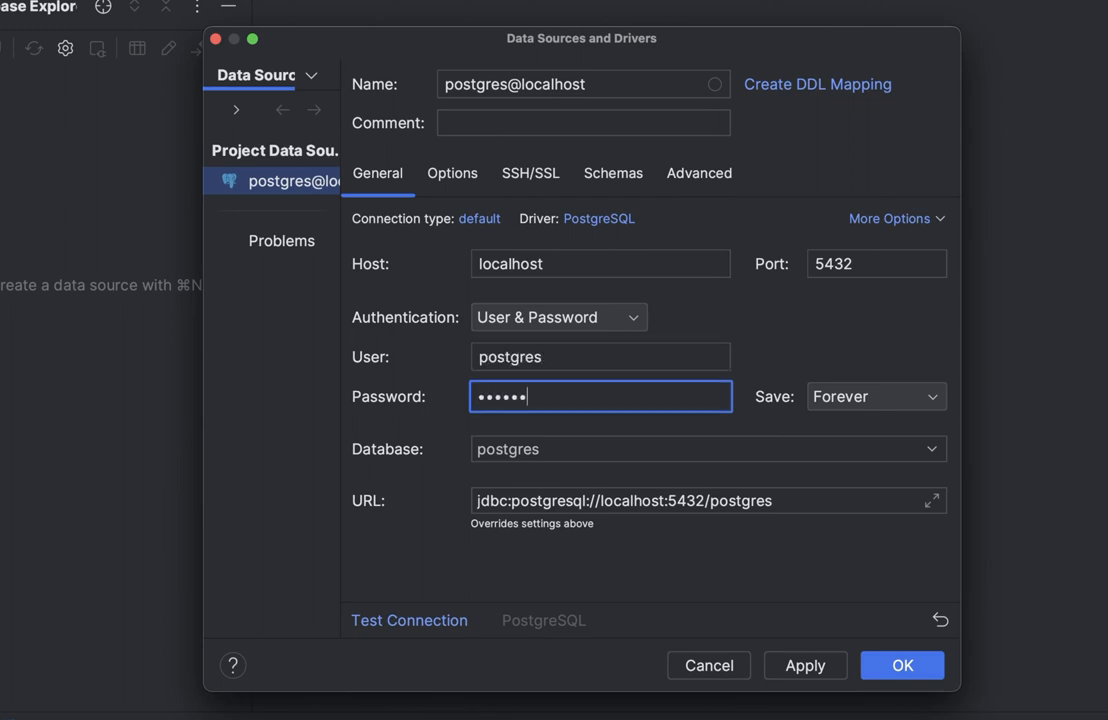
Next, use your preferred SQL editor, like DataGrip, to open a database connection. Ensure you connect to localhost and use the username and password from the Docker command mentioned earlier.

Once connected, execute a few simple SQL statements to ensure the Postgres instance is ready for more advanced experiments:
create table back_to_the_future(id int, name text);
insert into back_to_the_future(1, 'Doc');
select * from back_to_the_future;
Option #2: Jump Into Cloud-Native Postgres With Neon
The second cost-free and straightforward way to learn PostgreSQL caters to those eager to delve into public cloud environments right from the start.

Neon is a PostgreSQL-compatible database born and bred in the cloud. The icing on the cake? It's serverless. Dive in without spending a penny, and it autonomously scales your workload as needed.
Eager to get started with Neon? For us developers, the command line is home, isn't it? Kick things off by installing the Neon Command Line Tool:
npm i -g neonctlThen authenticate and create an account:
neonctl authCreate a new project and database instance:
neonctl projects create --name mynewproject --region-id aws-us-east-1
neonctl databases create --name newdb
Lastly, fetch your database connection string and you're set:
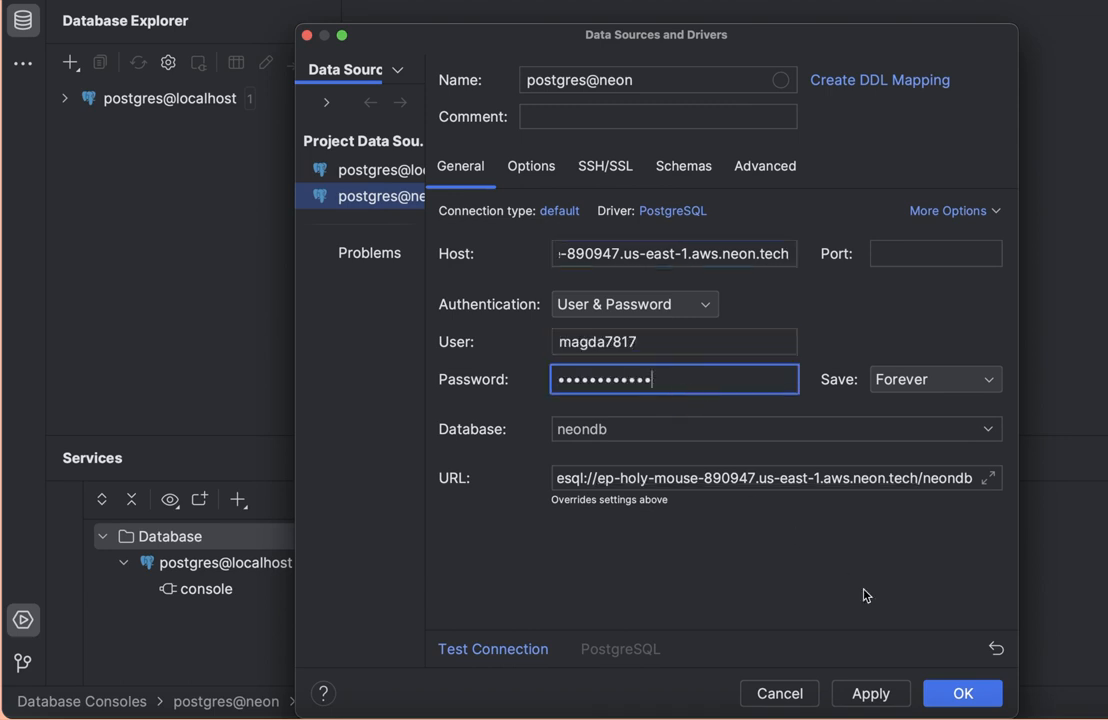
neonctl connection-string --database-name newdb Use that connection string to link up with the database instance via DataGrip:

For quick verification, execute a couple of straightforward SQL commands:
create table matrix(id int, name text);
insert into matrix values(1, 'Neo');
select * from matrix;
Option #3: Build on Scalable Postgres With YugabyteDB
Therefore, do you think you're done? Not at all, my friend!

We conclude with YugabyteDB - the PostgreSQL "beast." Not only does it scale up and out across zones and regions, but it also withstands the most challenging cloud armageddons. Plus, its special knack: pinning user data to specific geographic locations.
Want a taste of YugabyteDB straight in the cloud? YugabyteDB Managed (DBaas) offers a free tier, gifting you a dedicated single-node instance, to begin with, and you can simply transition to their dedicated plan when you're ready.
And now, for the grand tradition! Time to fire up a YugabyteDB instance straight from the command line. First, install the ybm tool:
brew install yugabyte/tap/ybmNext, create an account and sign in using your authentication token:
ybm signup
ybm auth
The final steps involve setting up your first database instance:
ybm cluster create \
    --cluster-name yugabyte \
    --credentials username=admin,password=password-123 \
    --cluster-tier Sandbox \
    --cloud-provider AWS \
    --wait
And add your laptop to the database’s IP allow list (yep, YugabyteDB folks take security seriously):
ybm network-allow-list create \
   --ip-addr \$(curl ifconfig.me) \
   --name my-address

ybm cluster network allow-list assign \\
   --network-allow-list my-address \\
   --cluster-name yugabyte
Alright, once the database is started, take its connection string:
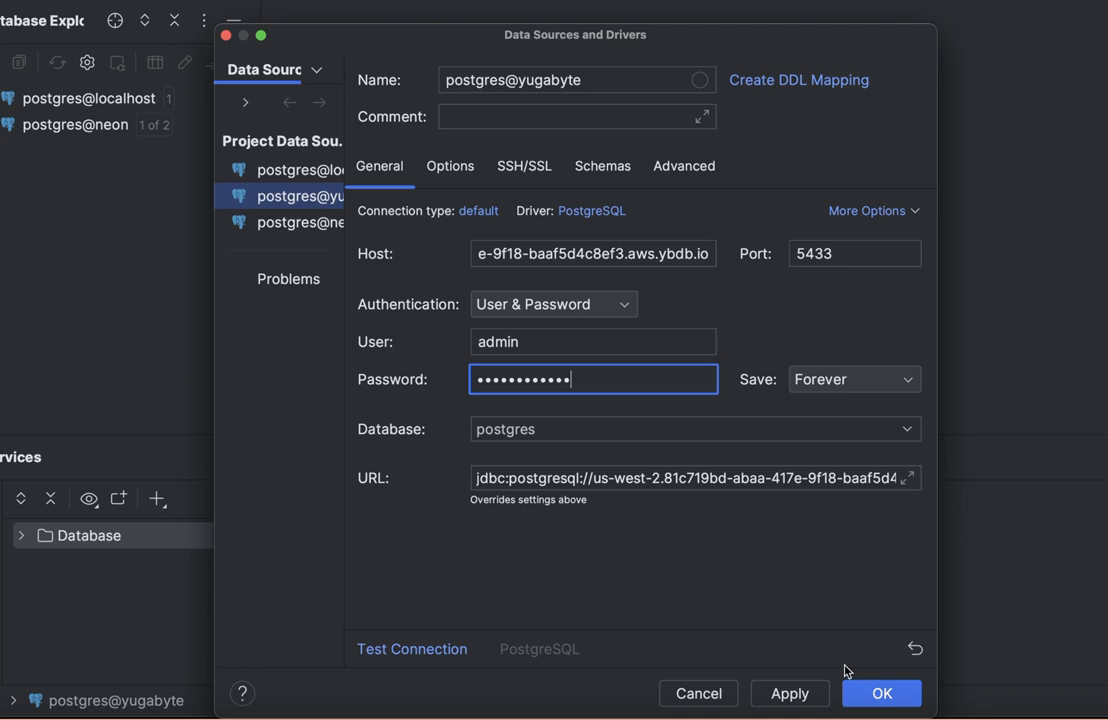
ybm cluster describe --cluster-name yugabyteAnd use that string to establish a connection via DataGrip:

With the connection opened, send a few SQL commands to YugabyteDB to make sure the "beast" is ready to serve your requests:
create table avengers(id int, name text);
insert into avengers values(1, 'Hulk');
select * from avengers;
That’s All… For Now
With PostgreSQL's popularity on the rise, it's inevitable you'll cross paths with it in upcoming projects. So why wait? Dive in now. And there's no better way to learn than by doing. Roll up your sleeves, launch a Postgres instance using one of the three methods outlined in this article, and savor the journey ahead.

