Create an Oracle Database Docker Image
In this article, I will explain how to download Oracle 12c image in Docker and how to start working on the Oracle database.
As part of Integration testing, I have created a dummy database in Docker, which will help me store the tested data.
Before starting the installation, install the Docker on your PC. Refer to this article for how to install Docker on Windows. You need to create an account in Docker to download and start working.
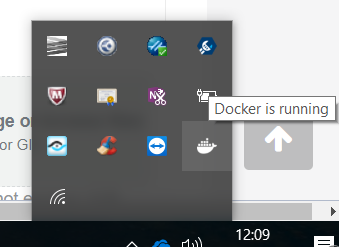
After successful installation of Docker in Windows, please check to see whether Docker is up and running or not. You can see whether it is up in the taskbar as shown in the image below.

After Confirming Docker is up and running, open Windows PowerShell to start working on Docker.
After starting windows PowerShell, login to Docker with your Docker account information with the below command:
docker loginNow, Docker will ask for your username and password details.

We can now start pulling the images and pushing our own created images to Docker Hub.
Oracle has 12c images in Docker Hub. Now, we will install 12c lighter image in Docker. Use the below command to install Oracle 12c image from Docker Hub.
docker run -d -p 8080:8080 -p 1521:1521 --name OracleDB store/oracle/database-enterprise:12.2.0.1-slimIn the above command, we are asking Docker to run oracle image on port number 1521 with the name "OracleDB". This command will first check whether the image is there in our local Docker or not, otherwise, it will download the image and start running the Oracle image.
I already have Oracle image in my local Docker, and after the execution of the above command, Docker started running Oracle image and has given us an ID for reference.
We can see the running status of all the images or containers in Docker using the below command.
docker psI have only Oracle image running in my local Docker, where we can see the output of the command:
The above image shows the status of running containers in Docker. Only one container (Oracle image) is running in Docker. We can see the container ID, created time, and port numbers of Oracle image.
Now execute the below command to start and mount the database.
docker exec -it OracleDB bash -c "source /home/oracle/.bashrc; sqlplus /nolog"After execution of the command:

Now, we can start working on the Oracle database. Follow the execution of the below commands to create a sample table in the database.
connect sys as sysdba;
-- Here enter the password as 'Oradoc_db1'
alter session set "_ORACLE_SCRIPT"=true;
create user dummy identified by dummy;
GRANT CONNECT, RESOURCE, DBA TO dummy;
--Now create a sample table.
create table Docker (id int,name varchar2(20));
--Start inserting values in to the table.
Now we have successfully installed the Oracle 12c database in Docker and created a table to start working. We can access this database in any SQL editor.
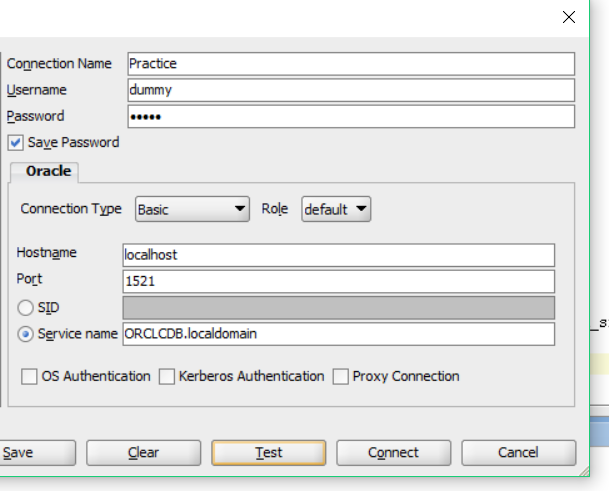
Below are the details of the database we installed:
HostName: localhost (hostname will be System IP address if you installed in any Linux VM)
Port: 1521
UserName and Password: dummy
Service Name: ORCLCDB.localdomain
Use the below command to get the Service Name of the DB installed.
select value from v$parameter where name='service_names';I have created a new connection in SQL developer with the above details and I can successfully access tables created in the Docker database from SQL developer.

Follow the above steps to install Oracle 12c in Docker and start working!

