Getting Started With ASP.NET Core MVC Apps Using VS Code
In this article, we will discuss how we can create a HelloWorld app with ASP.NET Core 2.0 using Visual Studio Code. We will learn how to create an ASP.NET Core MVC application, how to create a new Controller, how to create a new View, and how to run the HelloWorld app, etc.
Prerequisites
- .NET Core 2.0 SDK
- Visual Studio Code
- VS Code C# extension
If you want to know how to install the new Visual Studio Code in the machine, you can see the easy steps of installation of Visual Studio Code article. Read it here:
- Getting Started with Visual Studio Code
How to Create an ASP.NET Core MVC Application
Open Visual Studio Code. Now you can open the terminal using the Ctrl+` keyboard shortcut as shown in the screenshot below:
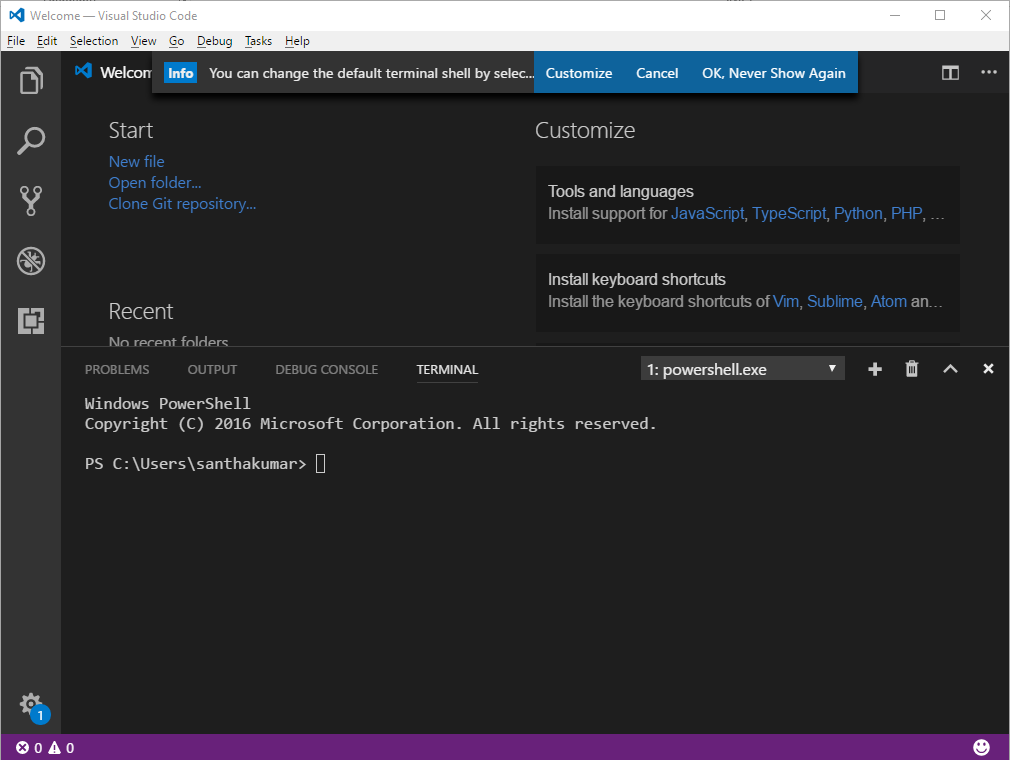
Now, you can set the project storing location as shown in the screenshot below:
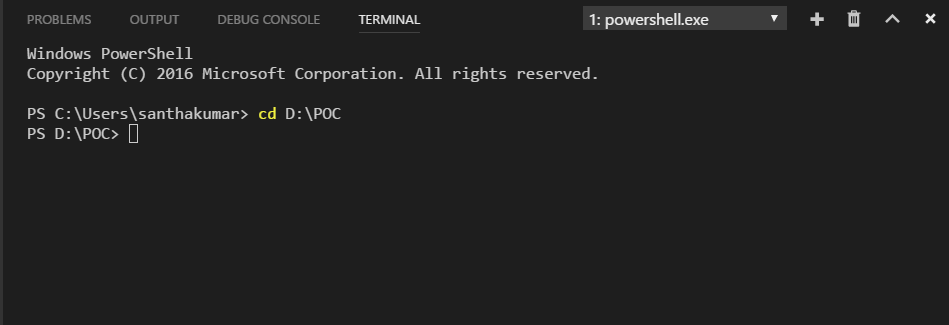
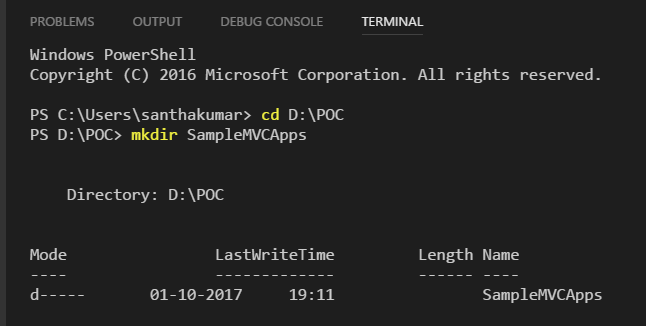
Type mkdir SampleMVCApps and Enter on the command line.
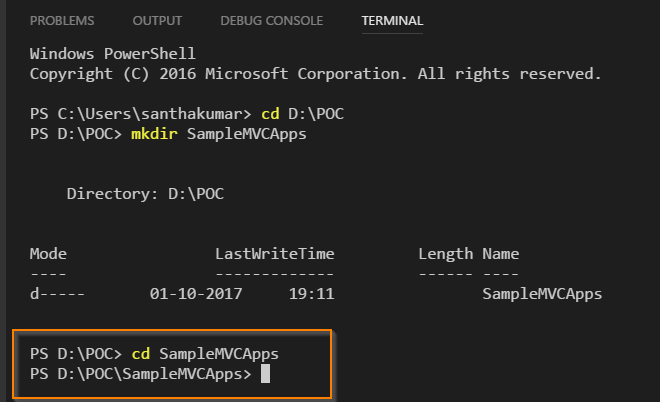
Type cd SampleMVCApps and Enter in the command line.
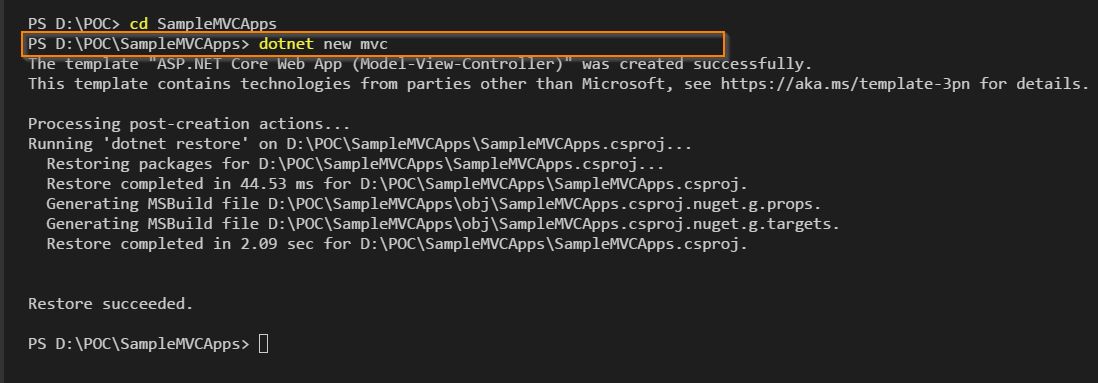
Type dotnet new MVC and Enter on the command line.
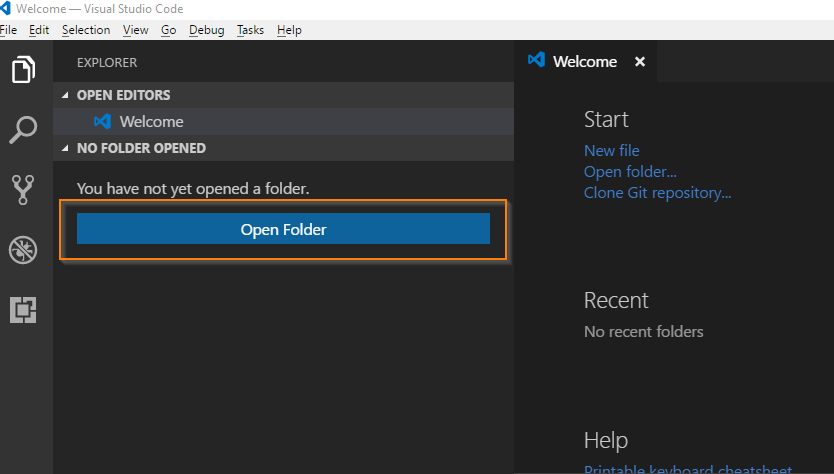
Go to the Explorer window and Open the SampleMVCApps folder in Visual Studio Code.
Select Yes to the Warn message "Required assets to build and debug are missing from 'SampleMVCApps.' Add them?"

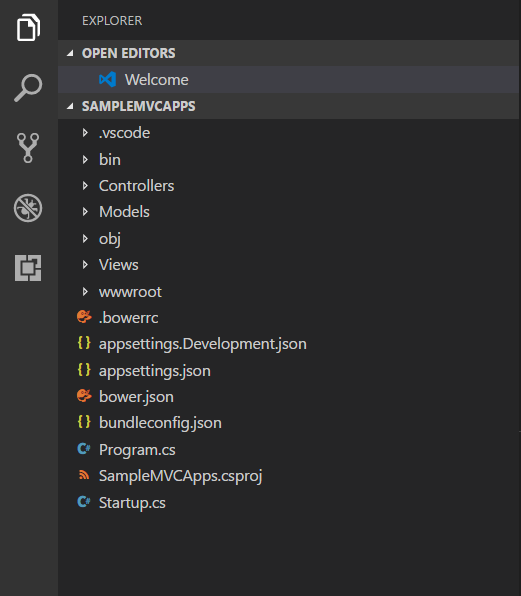
Now, you can see the project folder structure as shown in the screenshot below.
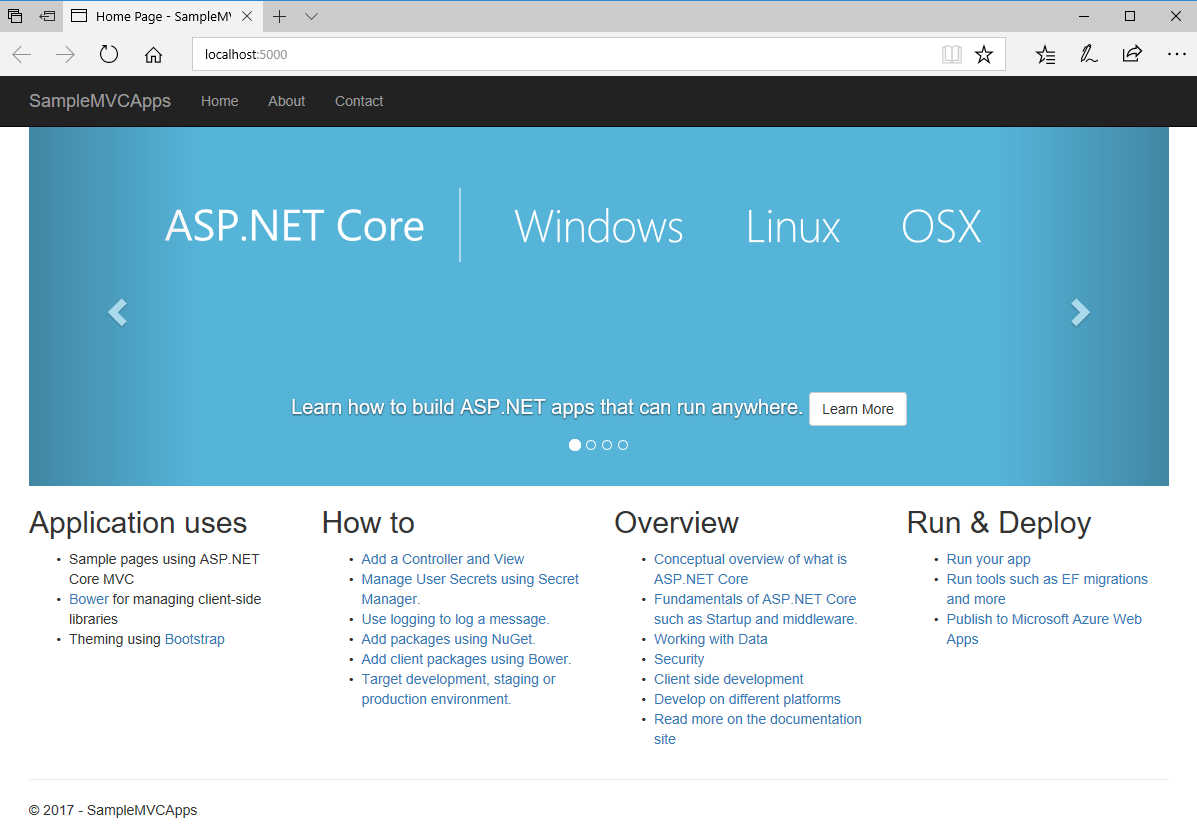
Pressing the F5 button to run the application.
How to Create a New Controller
Go to the Explorer window in VS Code. Right-click the Controllers folder and the select New File.
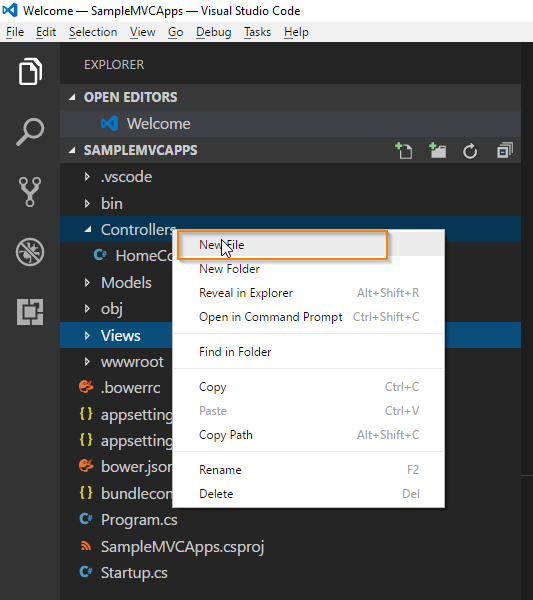
Now, you can type in the controller name, HelloWorldController.cs, and press the Enter button.
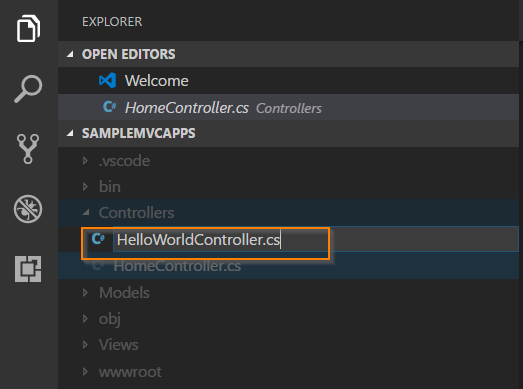
Copy and paste the below code into HelloWorldController.cs
using Microsoft.AspNetCore.Mvc;

namespace SampleMVCApps.Controllers
{
    public class HelloWorldController:Controller
    {
        public IActionResult Index()
        {
            ViewData["Message"]="Hello, This is my view";
            return View();
        }

        public IActionResult Welcome()
        {
            ViewData["Message"]="Hello, Welcome to HelloWorld Application";
            return View();
        }
    }
}
How to Create a New View
Go to the Explorer window in VS Code. Right-click the Views folder and select New Folder. Then add the new folder named HelloWorld.
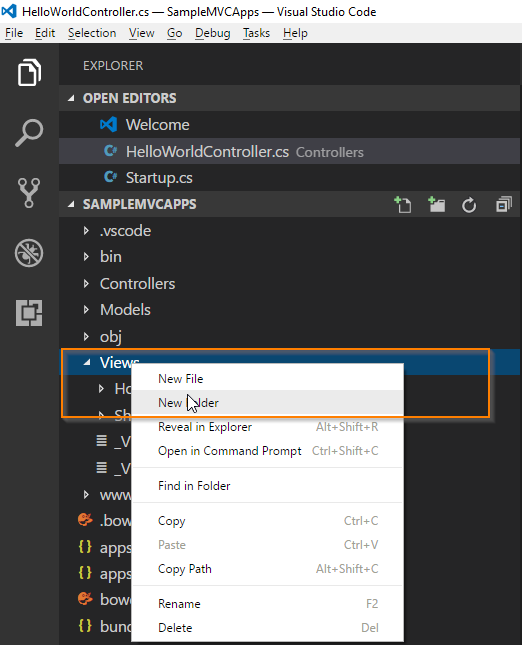
Right-click the HelloWorld folder and point to New File, followed by clicking the New File.
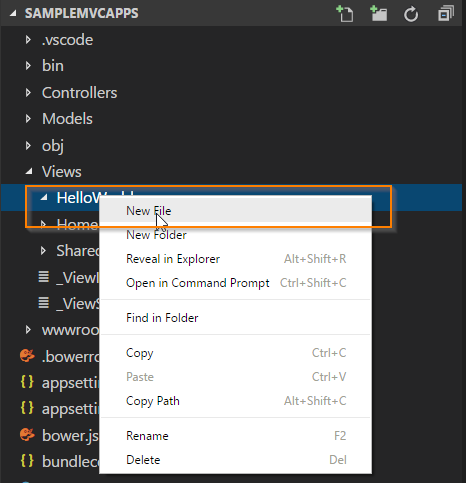
Now, you can type in the view name, Index.cshtml, and press Enter.
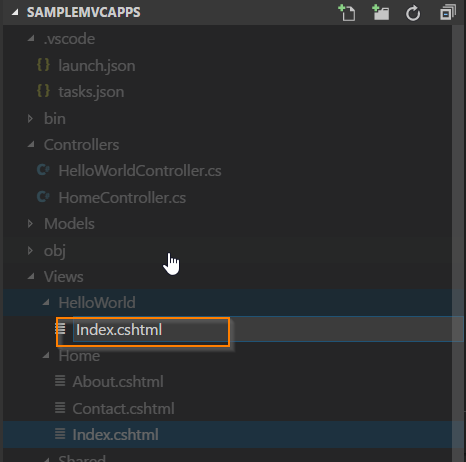
Copy and paste the below code into Views/HelloWorld/Index.cshtml
@{
    ViewData["Title"]="Index";
}

<h2>Index</h2>
<hr>

<p>@ViewData["Welcome"]</p>
Similarly, you can create a welcome view. Copy and paste the below code into Views/HelloWorld/Welcome.cshtml
@{
    ViewData["Title"]="Welcome";
}

<h2>Welcome</h2>
<hr>

<p>@ViewData["HelloWorld"]</p>
How to Run the HelloWorld App
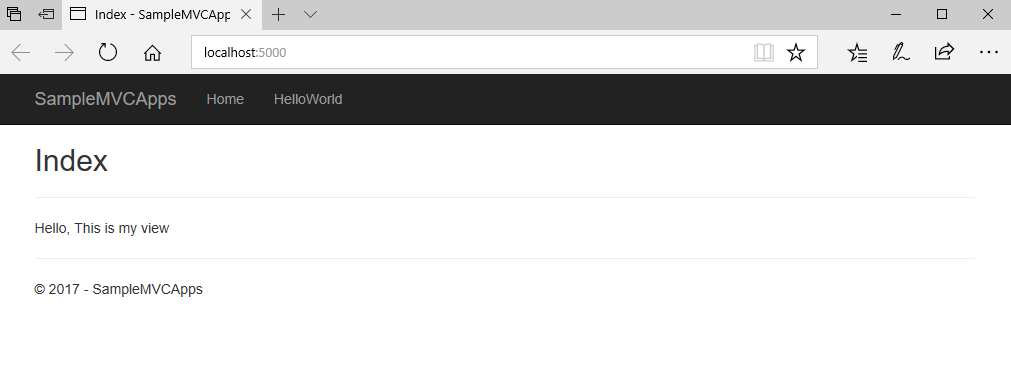
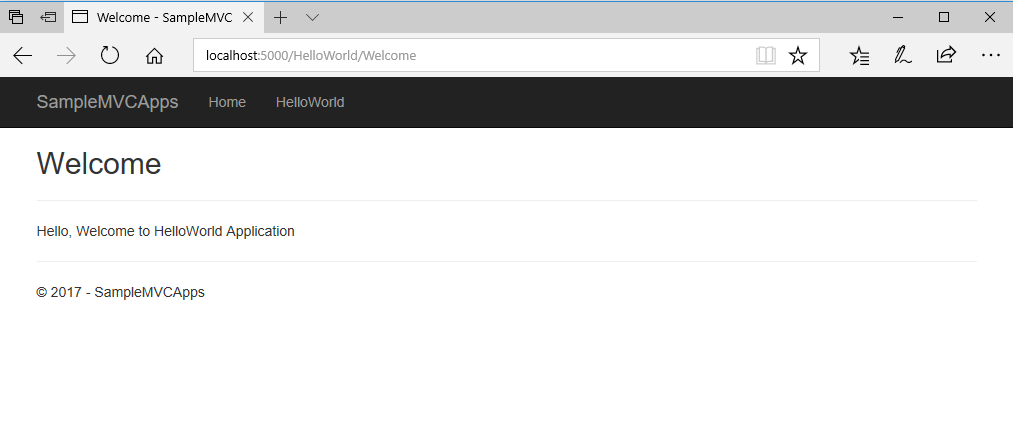
Pressing the F5 button will run the application, as shown in the below screenshots:
Conclusion
If you found anything which I missed in this article, please let me know. Please share your valuable feedback or comments and suggestion to improve the future articles.
If you enjoyed this article and want to learn more about ASP.NET, check out this collection of tutorials and articles on all things ASP.NET.

