Node Affinity, Node Selector, and Other Ways to Better Control Kubernetes Scheduling
Assigning pods to nodes is one of the most critical tasks of Kubernetes cluster management. While the default process can prove too generic, you can adjust it with advanced features like node affinity.

The way the Kubernetes scheduler distributes pods across worker nodes impacts performance and resources and, therefore, your costs. It’s then essential to understand how the process works and how to keep it in check.
This article outlines basic Kubernetes scheduling concepts, including node selector, node affinity and anti-affinity, and pod affinity and anti-affinity. It also includes an example of how combining node affinity and automation can improve your workload’s availability and fault tolerance.
How Kubernetes Scheduling Works
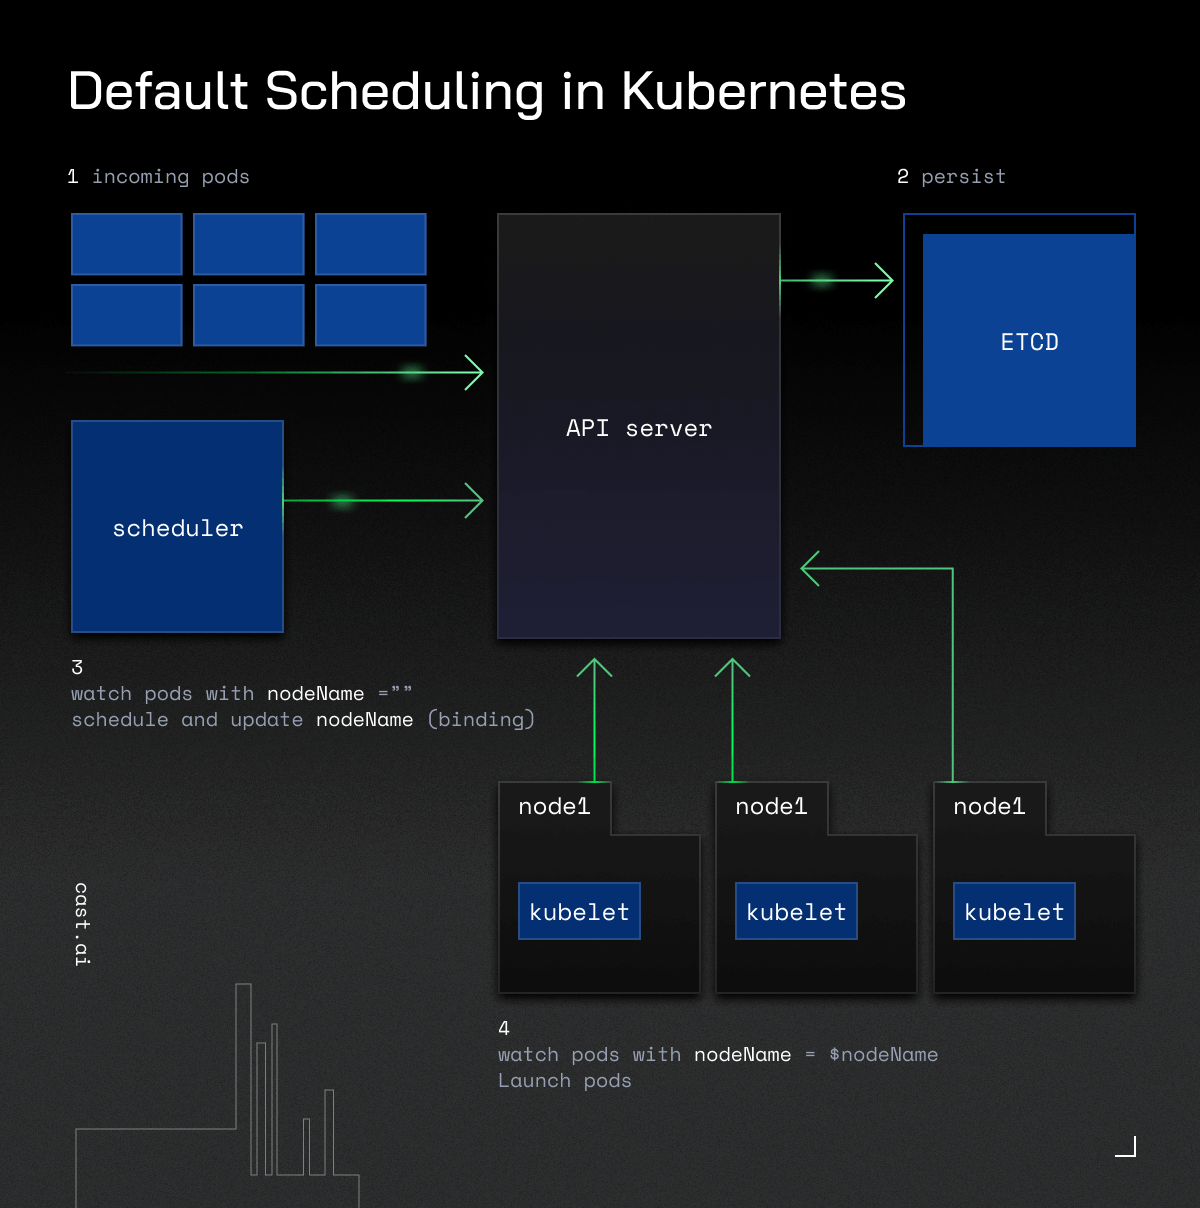
Kubernetes scheduling is about selecting a suitable node to run pods. Kube-scheduler is part of the control plane, and it selects nodes for new or not yet scheduled pods, by default trying to spread them evenly.
Containers in pods can have different requirements, so the Kubernetes scheduler filters out any nodes that don’t match the pod’s specific needs.
The Kubernetes scheduler identifies and scores all feasible nodes for your pod. It then picks the one with the highest score and notifies the API server about this decision.

Several factors impact the scheduler’s decisions, such as resource requirements, hardware and software constraints, etc.
The Kubernetes scheduler is fast, thanks to automation. However, it can be expensive as you may have to pay for resources that are insufficient for your different environments.
And as there’s no easy way to track your costs in Kubernetes, teams must find other ways to keep their expenses in check.
How To Control the Scheduler’s Choices
In a nutshell, you can control where your pods go with Kubernetes labels.
Labels are key/value pairs you can manually attach to objects like pods and nodes. By using them, you can specify identifying attributes and organize or select subsets of objects.
The simplest way to constrain the Kubernetes scheduler is to use a node selector.
How Does a Node Selector Work?
Adding the node selector field to your pod specification with a key-value pair lets you indicate the labels you wish the target node to have.
Kubernetes will only schedule pods onto the nodes matching the labels you specify.
The node selector is sufficient in small clusters but is usually unsuitable for complex cases.
For example, you may have an app that needs to run in separate availability zones. Or you may want to keep the API and database separate, e.g., when you don’t have many replicas.
That’s where the concept of affinity comes in handy.
Moving Beyond the Node Selector With Affinity
Affinity and anti-affinity expand the types of constraints you can add and give you more control over the selection logic.
Using them, you can create “preferred” and “soft” rules for different conditions for Kubernetes to schedule the pod even if there are no perfectly matching nodes. They also let you match the labels of pods running on the same nodes and specify the location of new pods more precisely.
It’s essential to keep in mind that there are two types of affinity:
1. Node affinity refers to impacting how pods get matched to nodes.
2. Pod affinity specifies how pods can be scheduled based on the labels of pods already running on that node.
Let’s now discuss both of them to highlight the difference.
Node Affinity: What Is It, and How Does It Work?
Similar to node selector, node affinity also lets you use labels to specify to which nodes Kube-scheduler should schedule your pods.
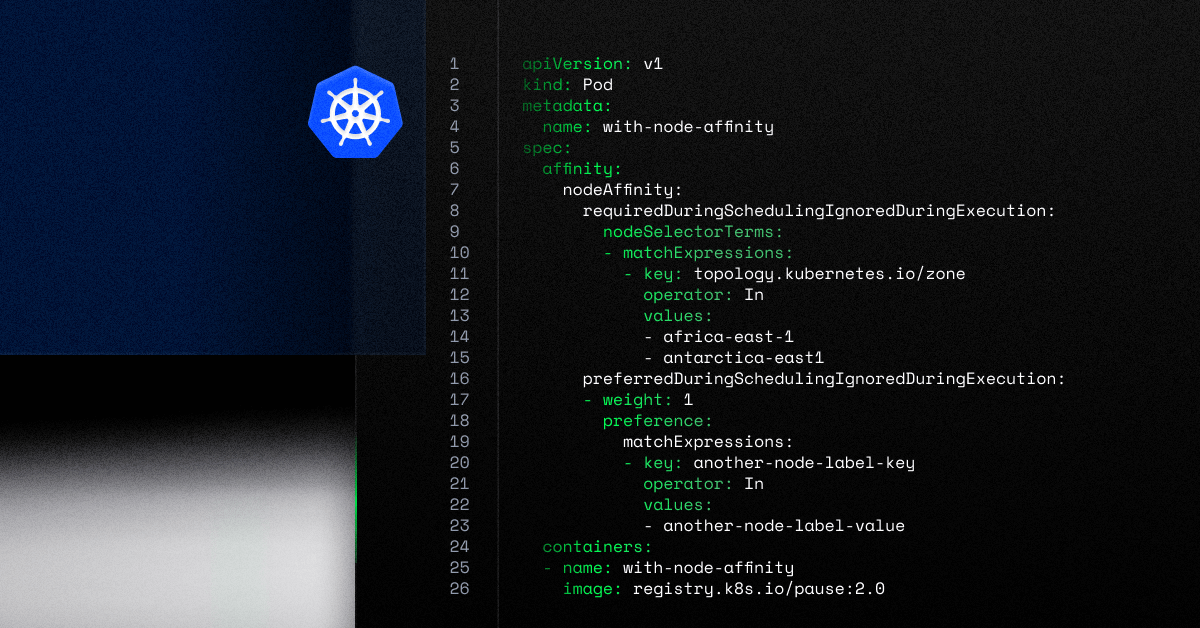
You can specify it by adding the .spec.affinity.nodeAffinity field in your pod.
Remember that if you specify nodeSelector and nodeAffinity, both must be met for the pod to be scheduled.
There are two types of node affinity:
1. requiredDuringSchedulingIgnoredDuringExecution – when using this one, the scheduler will only schedule the pod if the node meets the rule.
2. preferredDuringSchedulingIgnoredDuringExecution– in this scenario, the scheduler will try to find a node matching the rule, but it will still schedule the pod even if it doesn’t find anything suitable.
The latter lets you specify each instance’s weight by using a value between 1 and 100.
When the scheduler finds nodes meeting all of your unscheduled pod’s requirements, Kube-scheduler iterates through every preferred rule that the node matches and adds the value of the weight to a sum.
The Kubernetes scheduler then adds this sum to the final score, impacting your pod’s final node decision.
What Is Pod Affinity?
Working along similar lines, this concept focuses on impacting the Kubernetes scheduler based on the labels on the pods already running on a given node.
You can also specify it within the affinity section using the podAffinity and podAntiAffinity fields in the pod spec.
- Pod affinity assumes that a given pod can run in a specific location if there is already a pod meeting particular conditions.
- Pod anti-affinity offers the opposite functionality, preventing pods from running on the same node as pods matching particular criteria.
We will soon publish a separate post diving into inter-pod affinity and anti-affinity.
That’s why, for now, let’s focus on one practical application of node affinity.
Node Affinity in Action: High Availability and Fault Tolerance
Availability is the holy grail of migrating to the cloud, and you can also boost it with node affinity.
By spreading pods across several different nodes, you can ensure that your application remains available even if one or more of those nodes fail.
With node affinity, you can instruct the Kubernetes scheduler to choose nodes in different availability zones, data centers, or regions. By doing so, your app can continue running even if your AZ or data center experiences an outage.
If you then add Kubernetes automation, you can ensure that pods get scheduled in the preferred zones even if they’re not present in your cluster.
Here is an example deployment of an on-demand instance on AWS with affinity set for a single zone:
apiVersion: apps/v1
kind: Deployment
metadata:
  name: nginx-cross-single-az
  labels:
    app: nginx-cross-single-az
spec:
  replicas: 5
  selector:
    matchLabels:
      app: nginx-single-az
  template:
    metadata:
      labels:
        app: nginx-single-az
    spec:
      nodeSelector:
        topology.kubernetes.io/zone: "eu-central-1a"
      containers:
      - name: nginx
        image: nginx:1.24.0
        ports:
        - containerPort: 80
        resources:
          requests:
            cpu: 2
In this case, the node selector will pick nodes with the label “topology.kubernetes.io/zone” set to “eu-central-1a“.
For comparison, here’s an example of a node affinity set for multi-zone pod scheduling:
apiVersion: apps/v1
kind: Deployment
metadata:
  name: nginx-cross-az
  labels:
    app: nginx-cross-az
spec:
  replicas: 5
  selector:
    matchLabels:
      app: nginx-cross-az
  template:
    metadata:
      labels:
        app: nginx-cross-az
    spec:
      affinity:
        nodeAffinity:
          requiredDuringSchedulingIgnoredDuringExecution:
            nodeSelectorTerms:
            - matchExpressions:
              - key: "topology.kubernetes.io/zone"
                operator: In
                values:
                - eu-central-1a
                - eu-central-1b
                - eu-central-1c
      containers:
      - name: nginx
        image: nginx:1.24.0
        ports:
        - containerPort: 80
        resources:
          requests:
            cpu: 2
In this scenario, CAST AI will create nodes across multiple AWS zones that match your requirements. It will use on-demand instances, and all provisioning will happen automatically.
Summary
Kubernetes affinity is an important feature allowing you to control your pod scheduling better.
Pod and node affinity and anti-affinity let you have more say on where your pods get scheduled. By specifying these rules, you get more scheduling configurations.
Add automation to ensure that your pods get distributed across the most suitable nodes at all times and easily keep a tab on all related costs.

